
Setting up Branding
Customize your organization's name, logo, and color theme to create a professional and branded experience for your coaching clients. These settings control how your brand appears throughout the client-facing interface.
You'll need admin or owner access to customize organization settings.
Access Organization Settings
Navigate to your Profile page by clicking Profile in the left sidebar. Scroll down to the Organization section where you'll see all customization options.
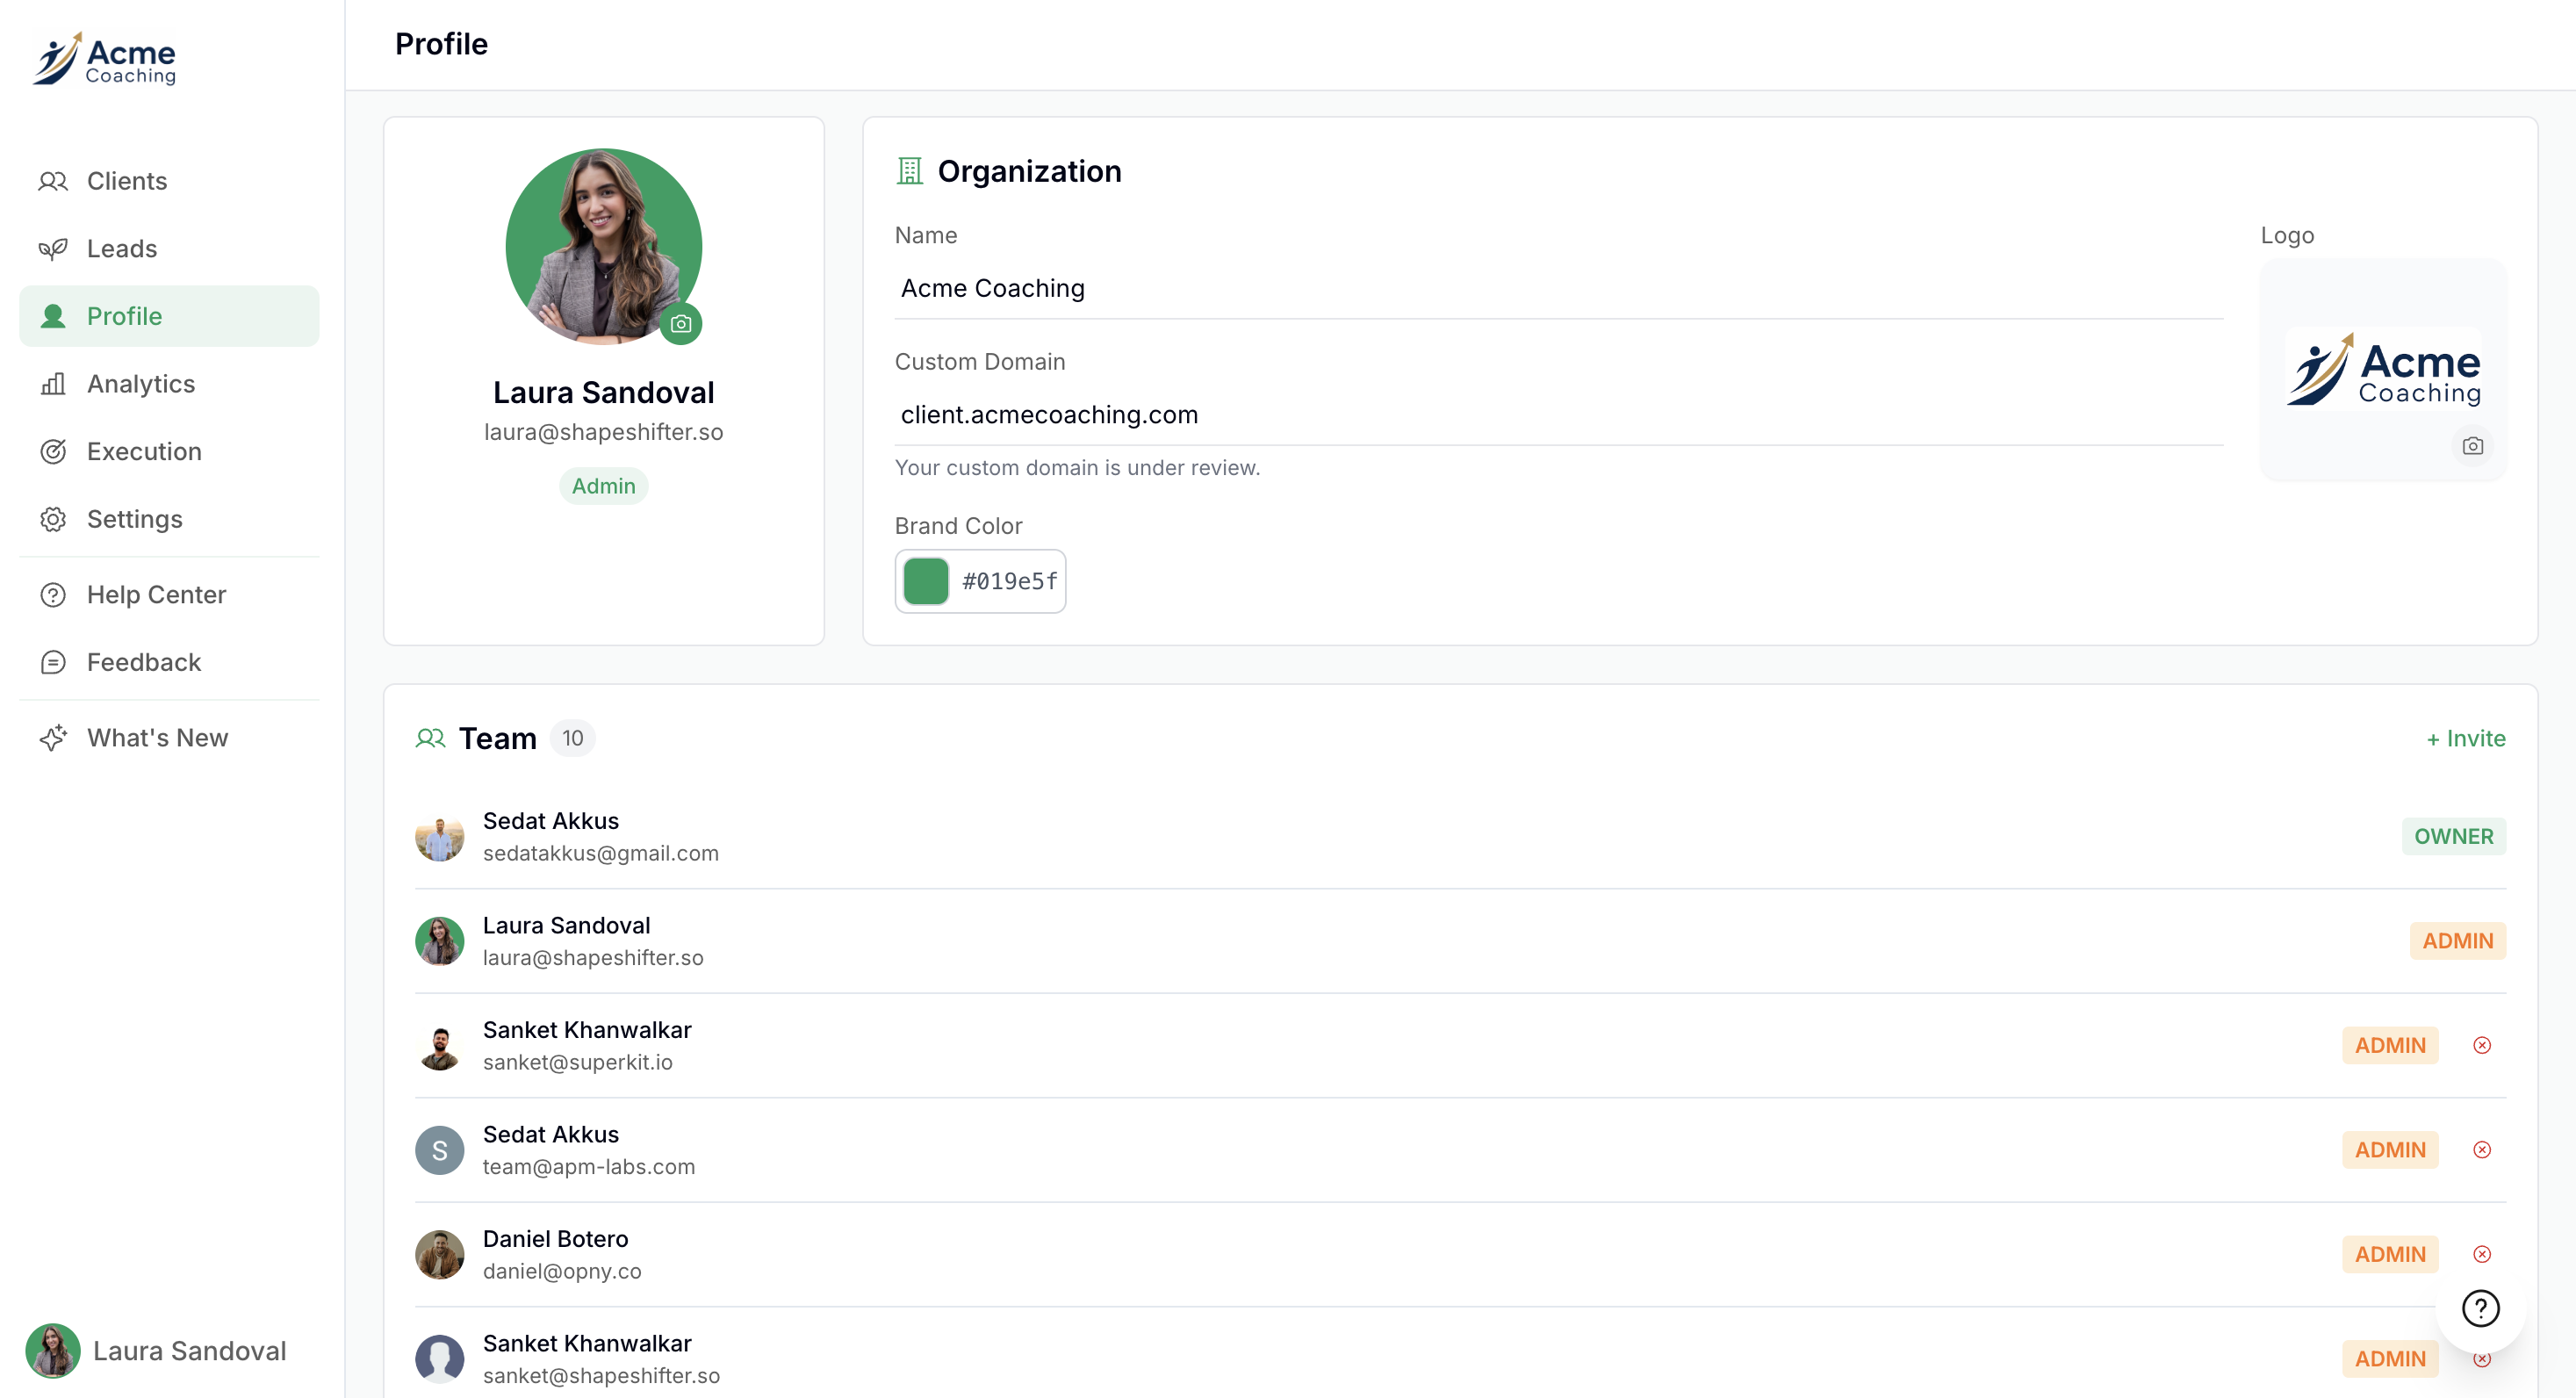
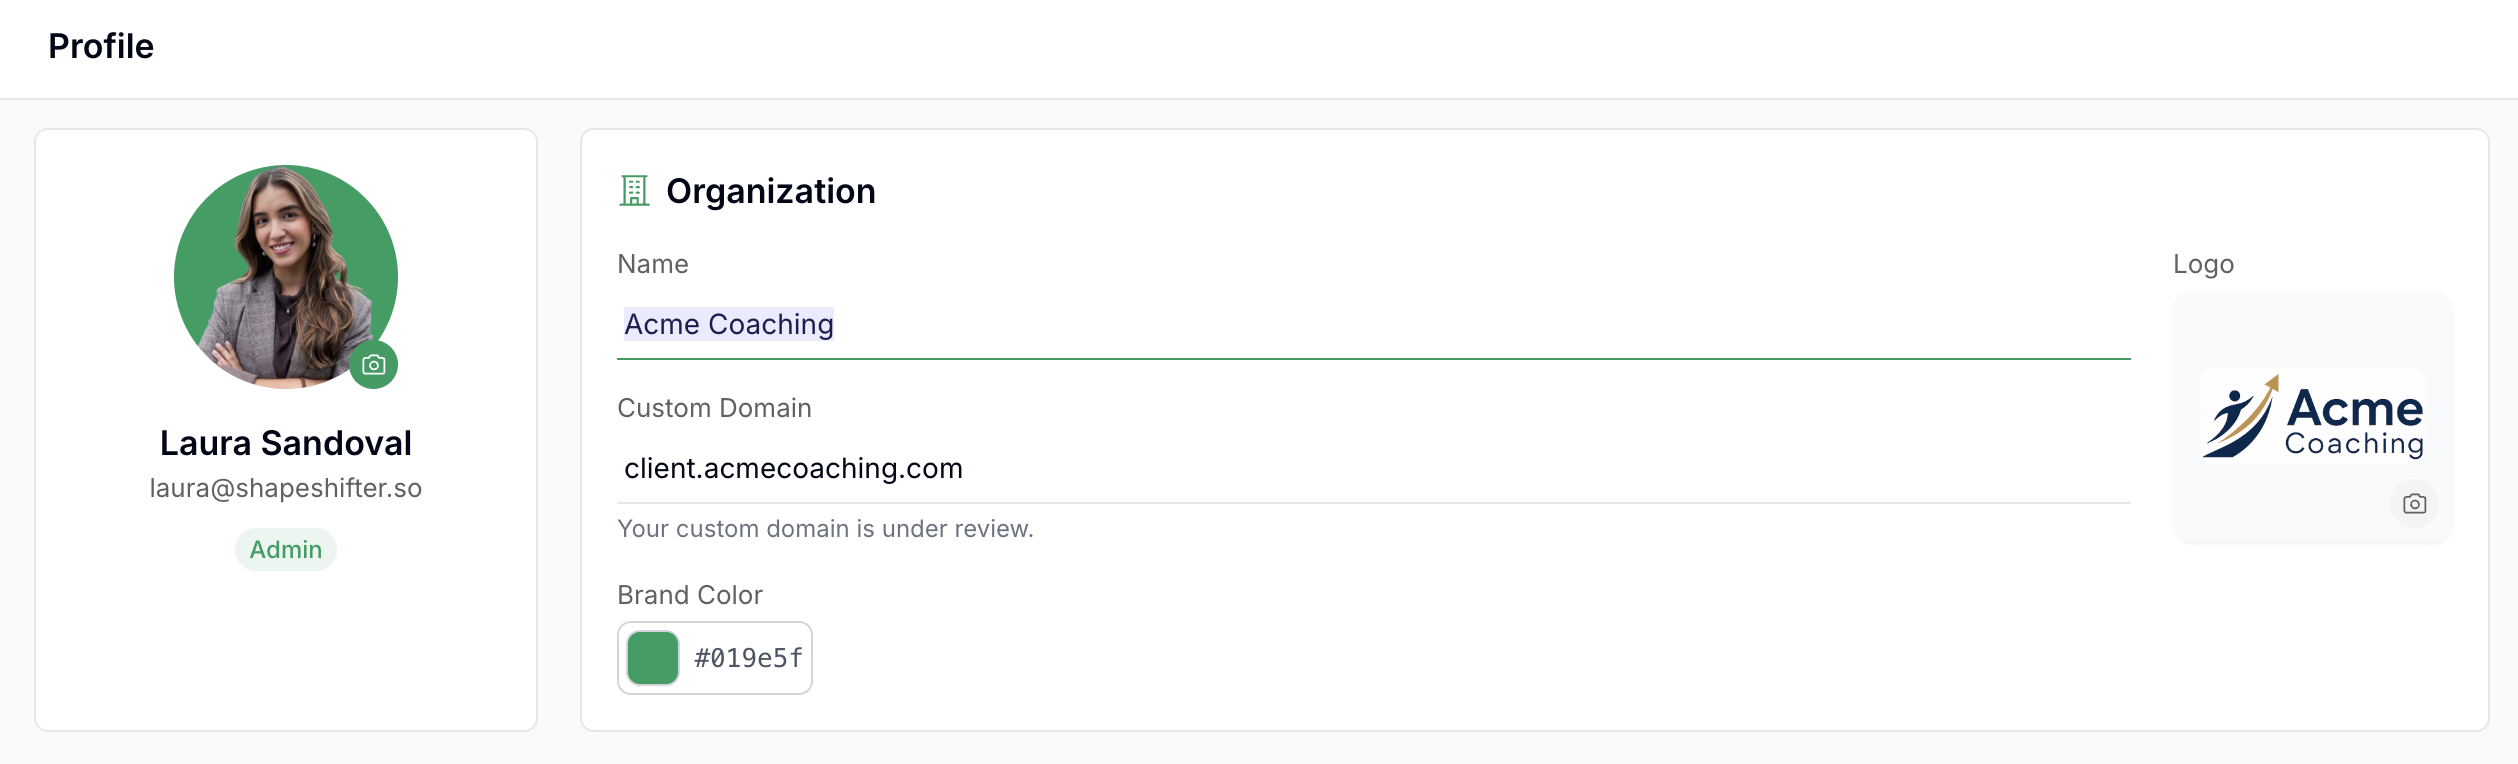
Update Organization Name
Your organization name appears throughout the client-facing interface, including login screens and dashboard headers.
Click into the Name field under the Organization section
Type your desired organization name (e.g., "Acme Coaching")
The name will be used across all client touchpoints
Upload Your Logo
Add your organization's logo to create a fully branded experience. Your logo will appear throughout the client-facing interface, including the client dashboard header and login screens.
In the Organization section, locate the Logo upload area
Click the logo area to open the file picker and select your logo file
Upload your logo image

Test different resolutions to see which size looks best in the client view. You can always re-upload a different version if needed.
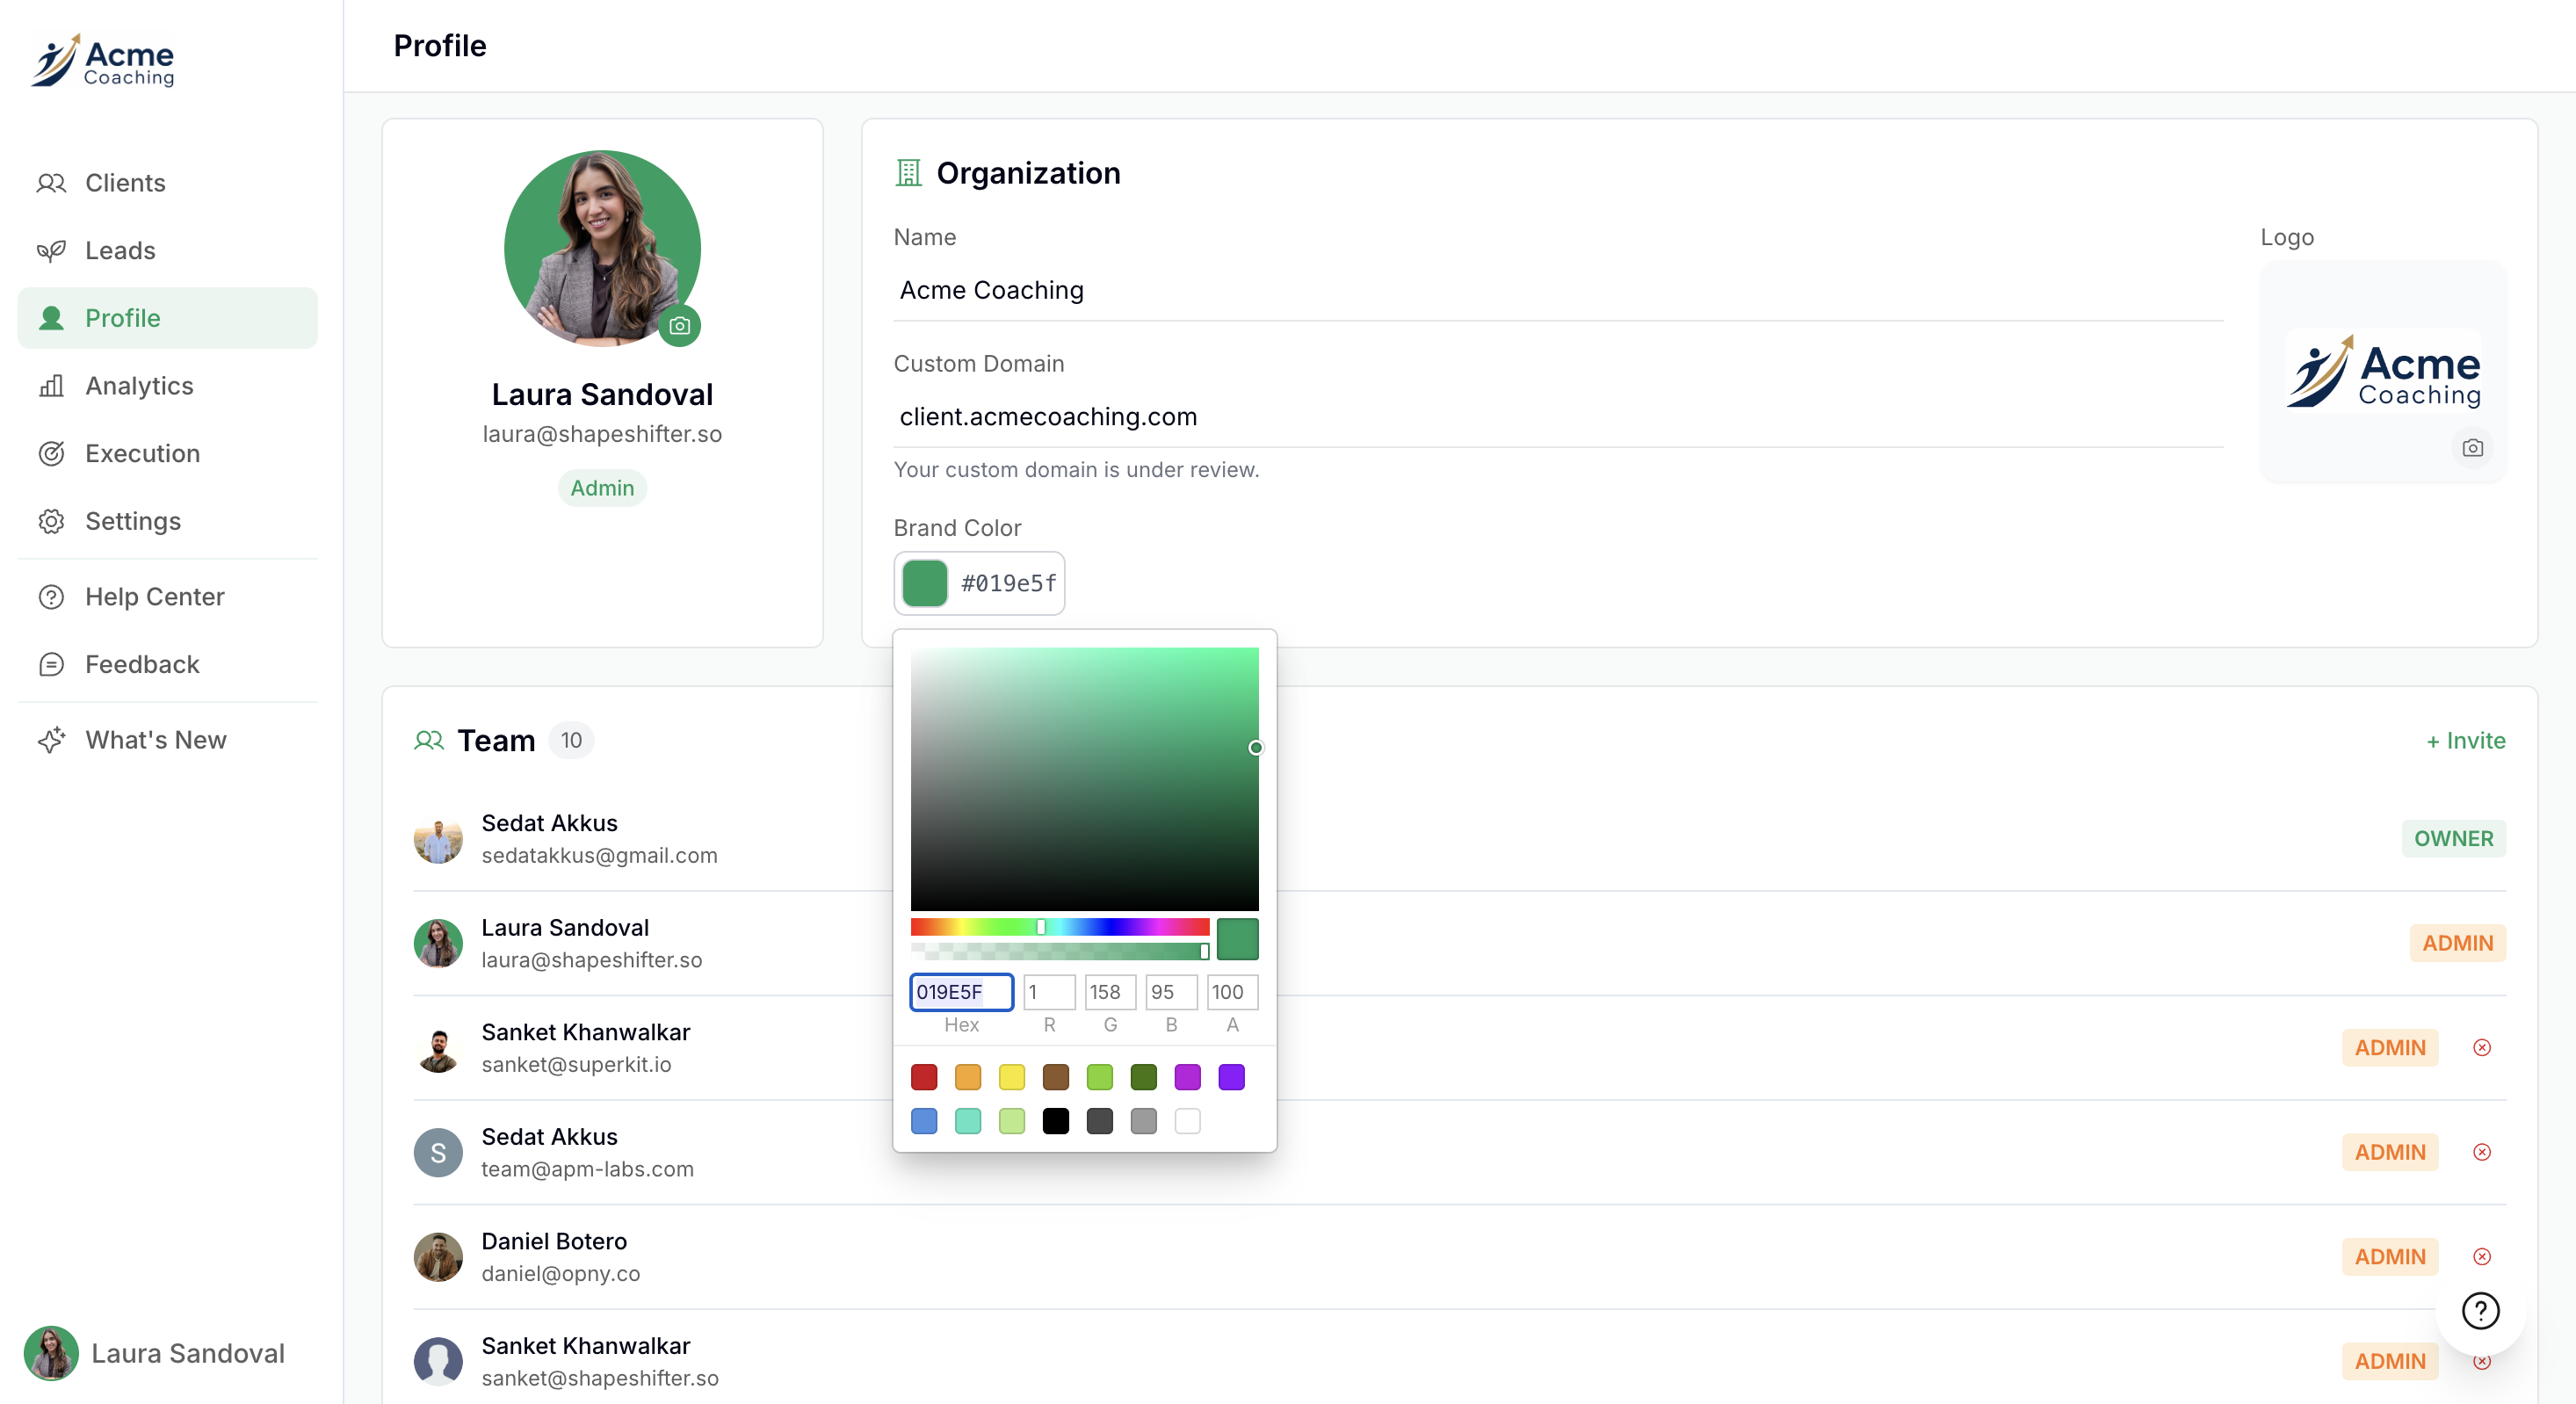
Customize Color Theme
Choose a brand color that matches your coaching business. This color will be applied to buttons, accents, and other interface elements throughout the client dashboard.
Click the Color Theme field to open the color picker
Select a color from the palette or enter a specific hex/RGB value
Preview how the color looks in the interface
You can change to any color that aligns with your brand. For example, switching to a dark green (#084e3d) creates a professional, earthy tone.
Setup Custom Domain
Please refer to the full guide here
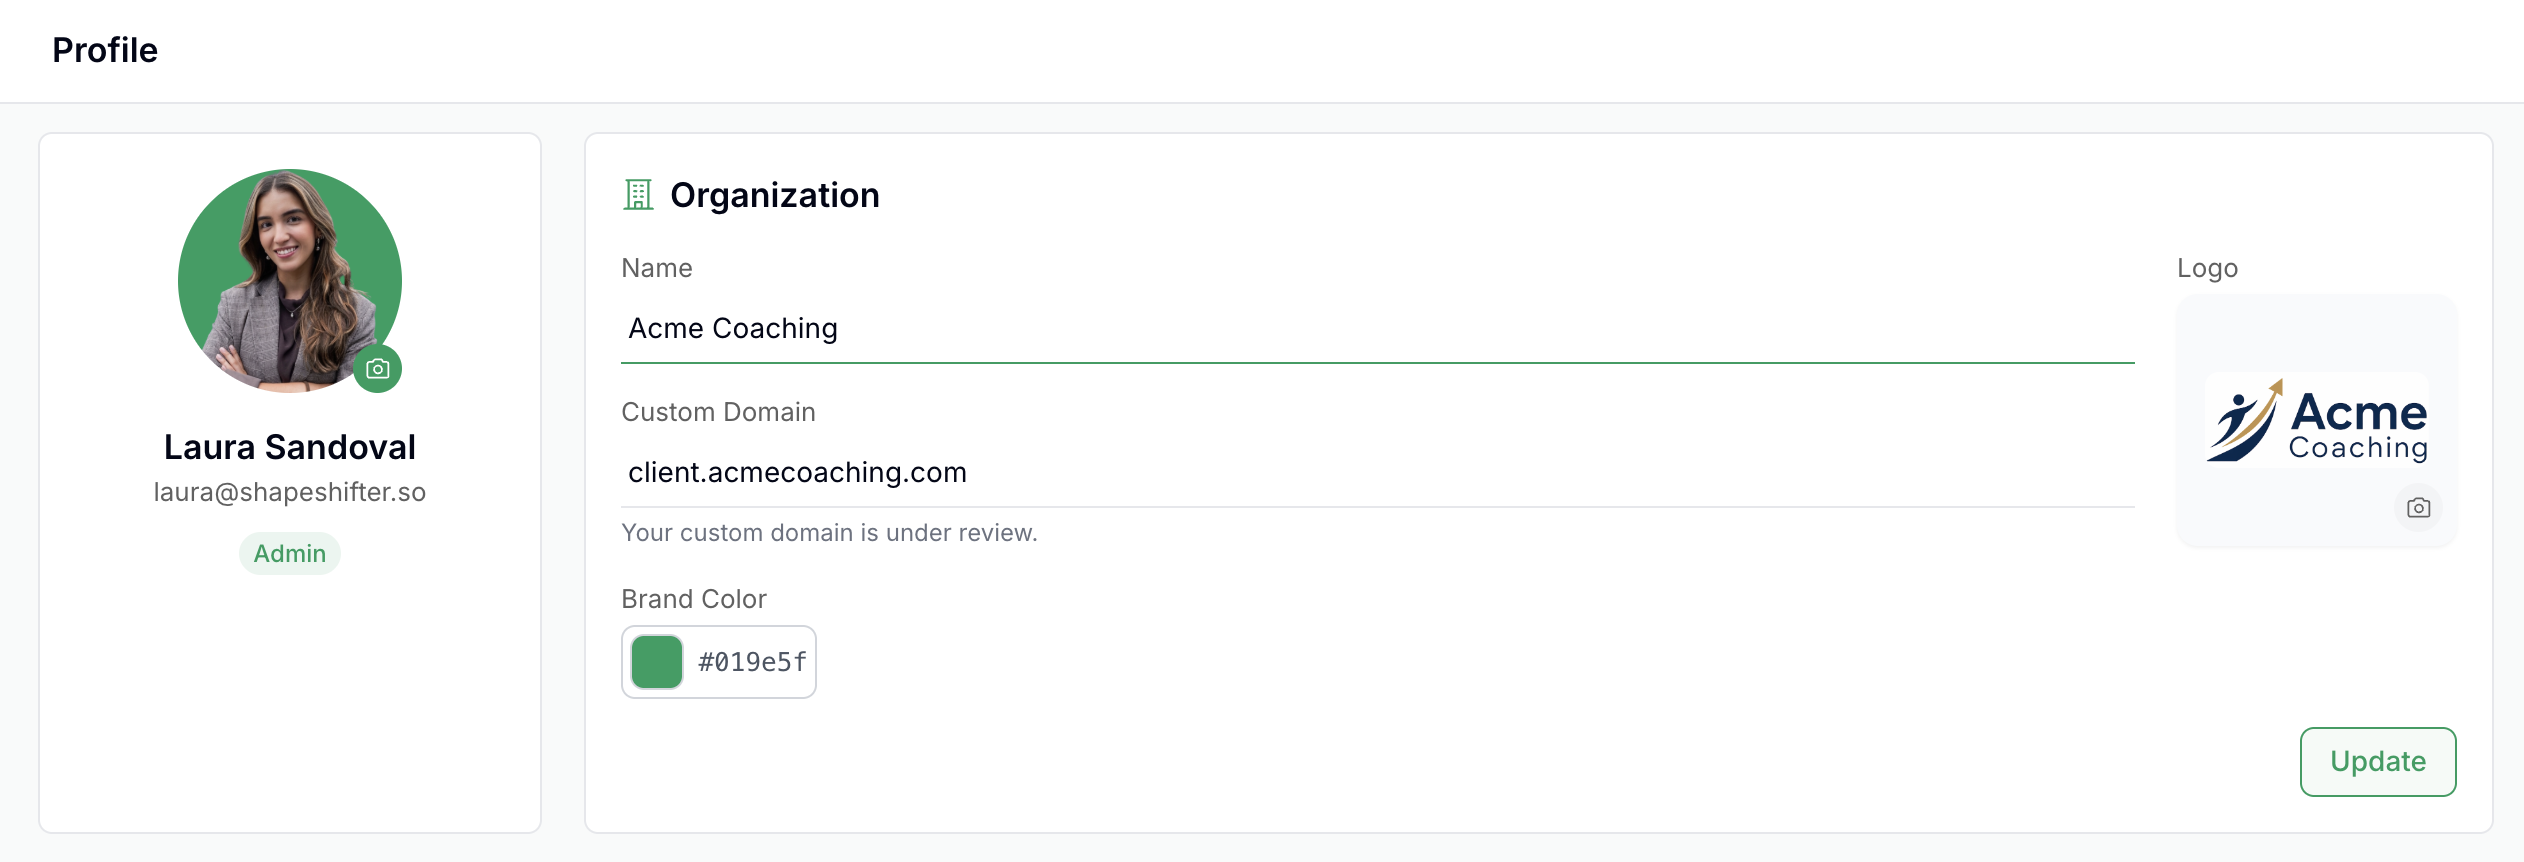
Save Your Changes
After updating your organization name and color theme, click the Update button at the bottom right of the Organization section to save all changes.
Changes are saved immediately and will be reflected across all client-facing interfaces. Your own coach interface will continue to look the same as before.
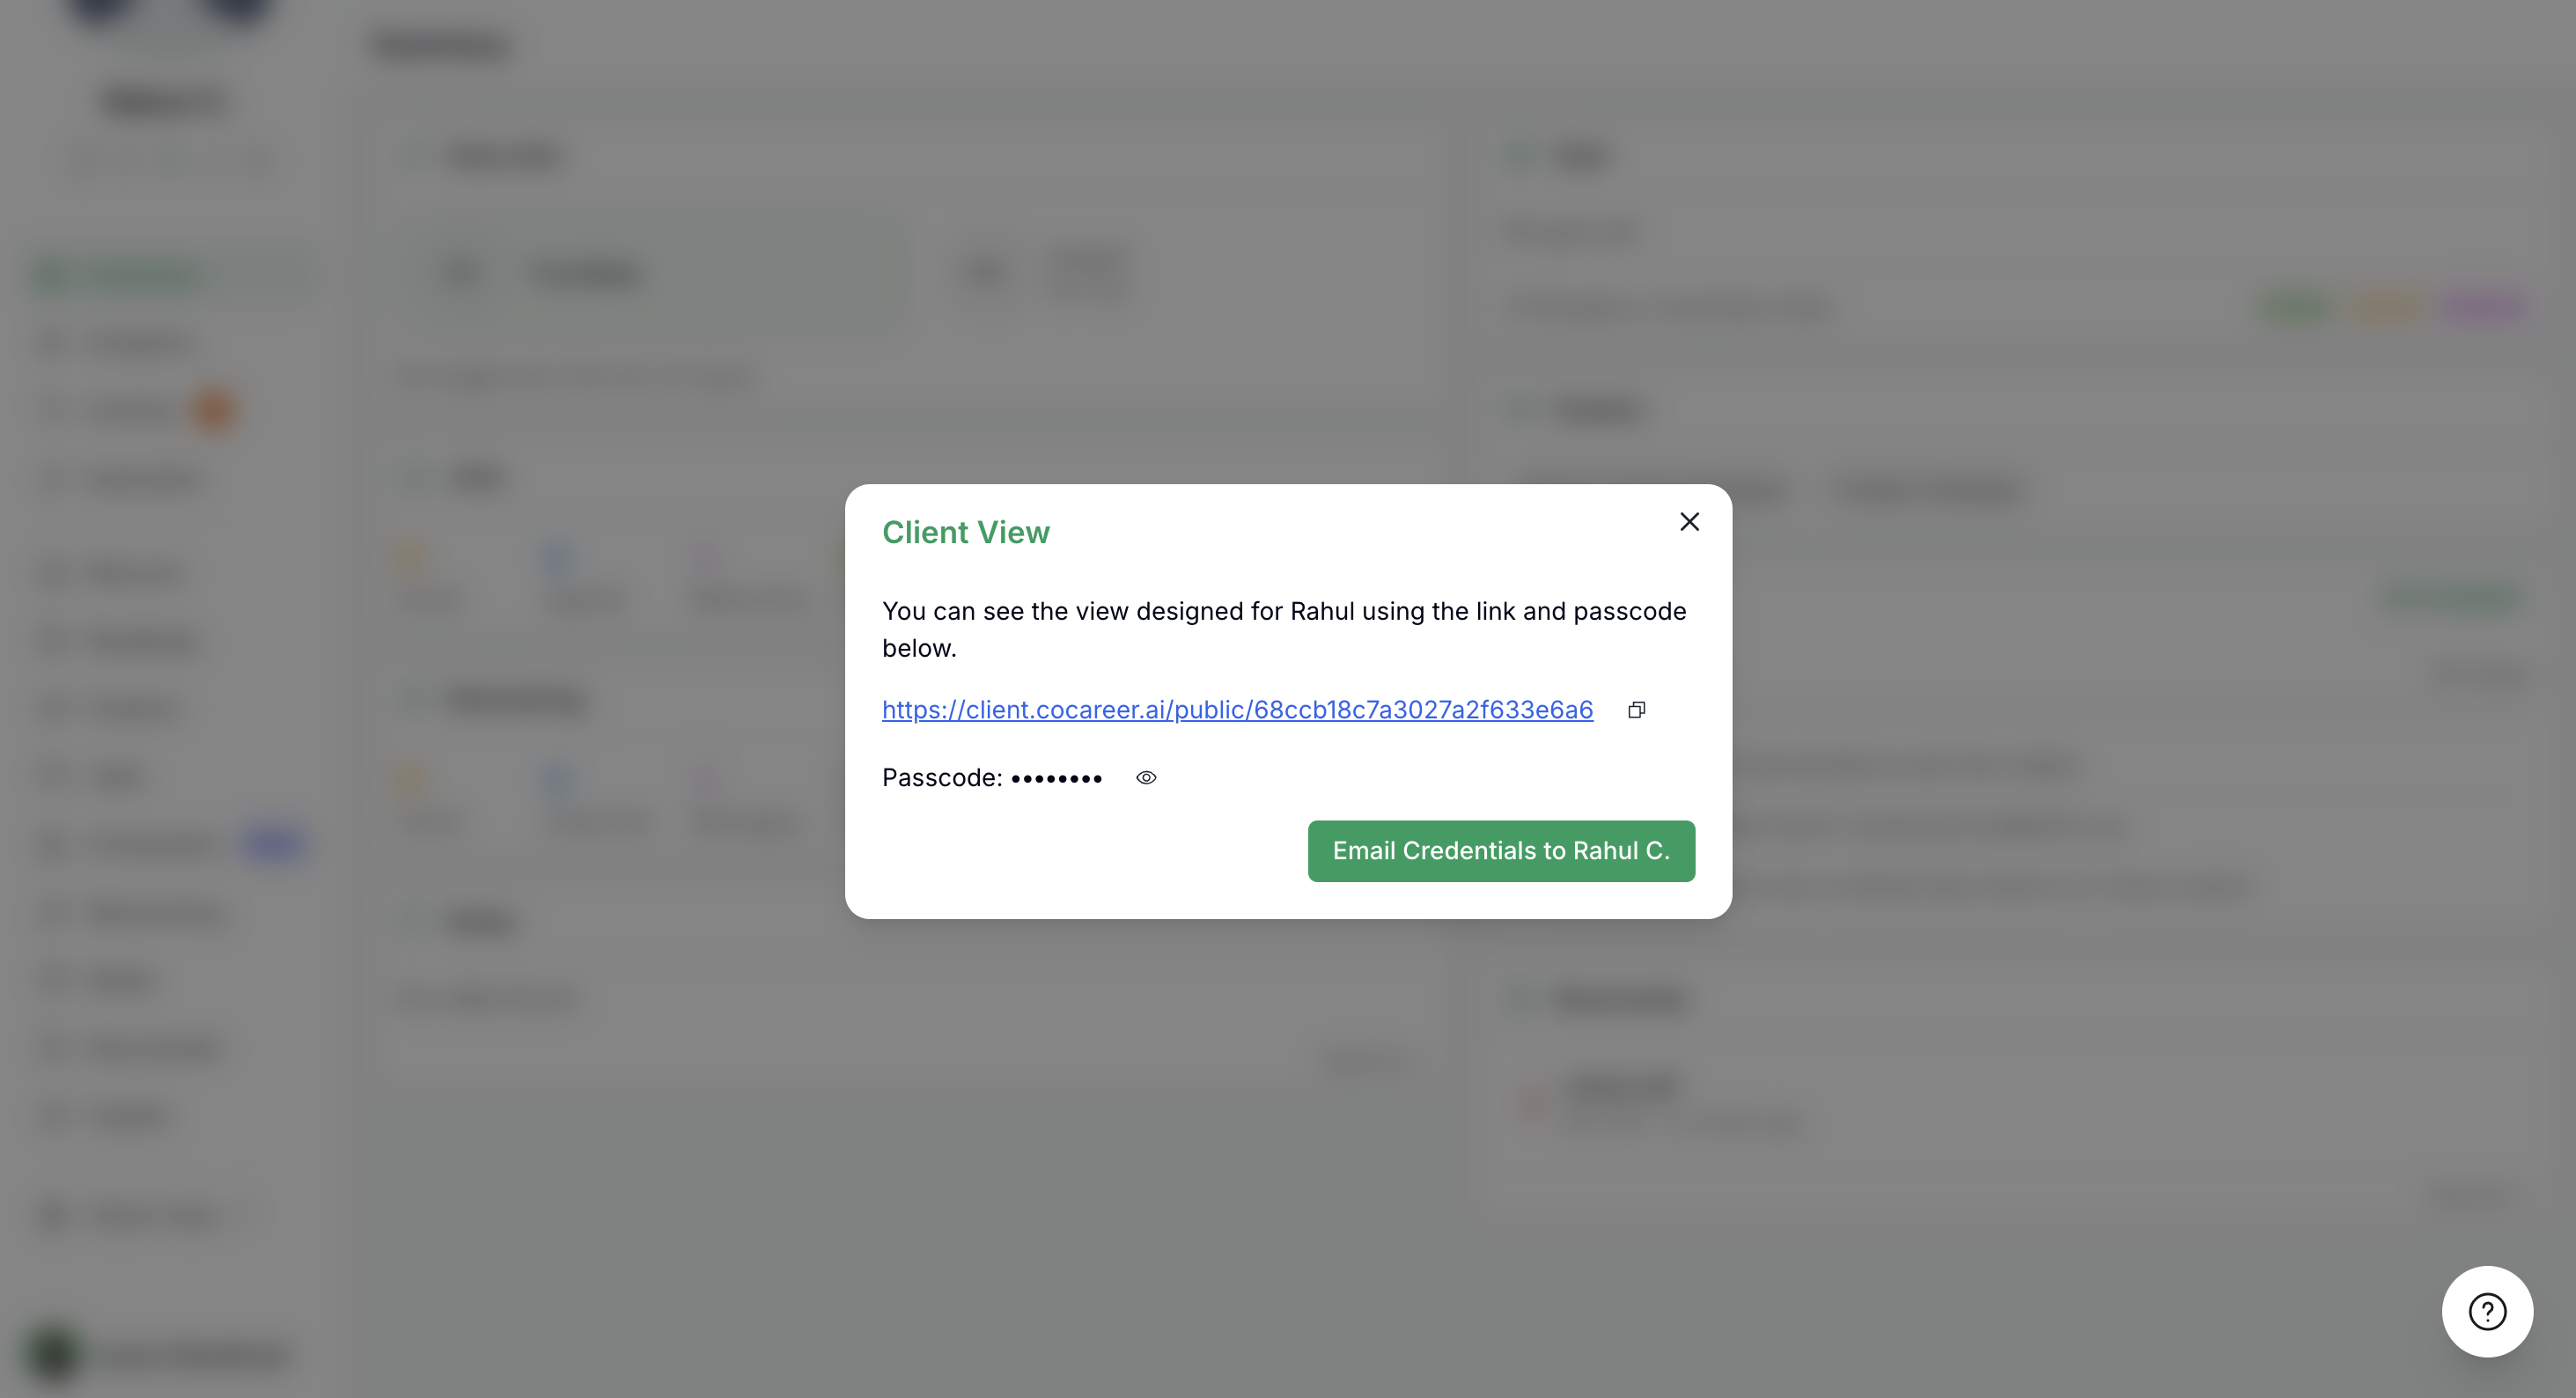
Test Your Branding
Once you've configured everything, test how your branding appears to clients by using the Client View feature.
Navigate to a client's profile in the tool
Click Client View to generate a test link
Copy the link and passcode provided
Open the link in an incognito/private browser window
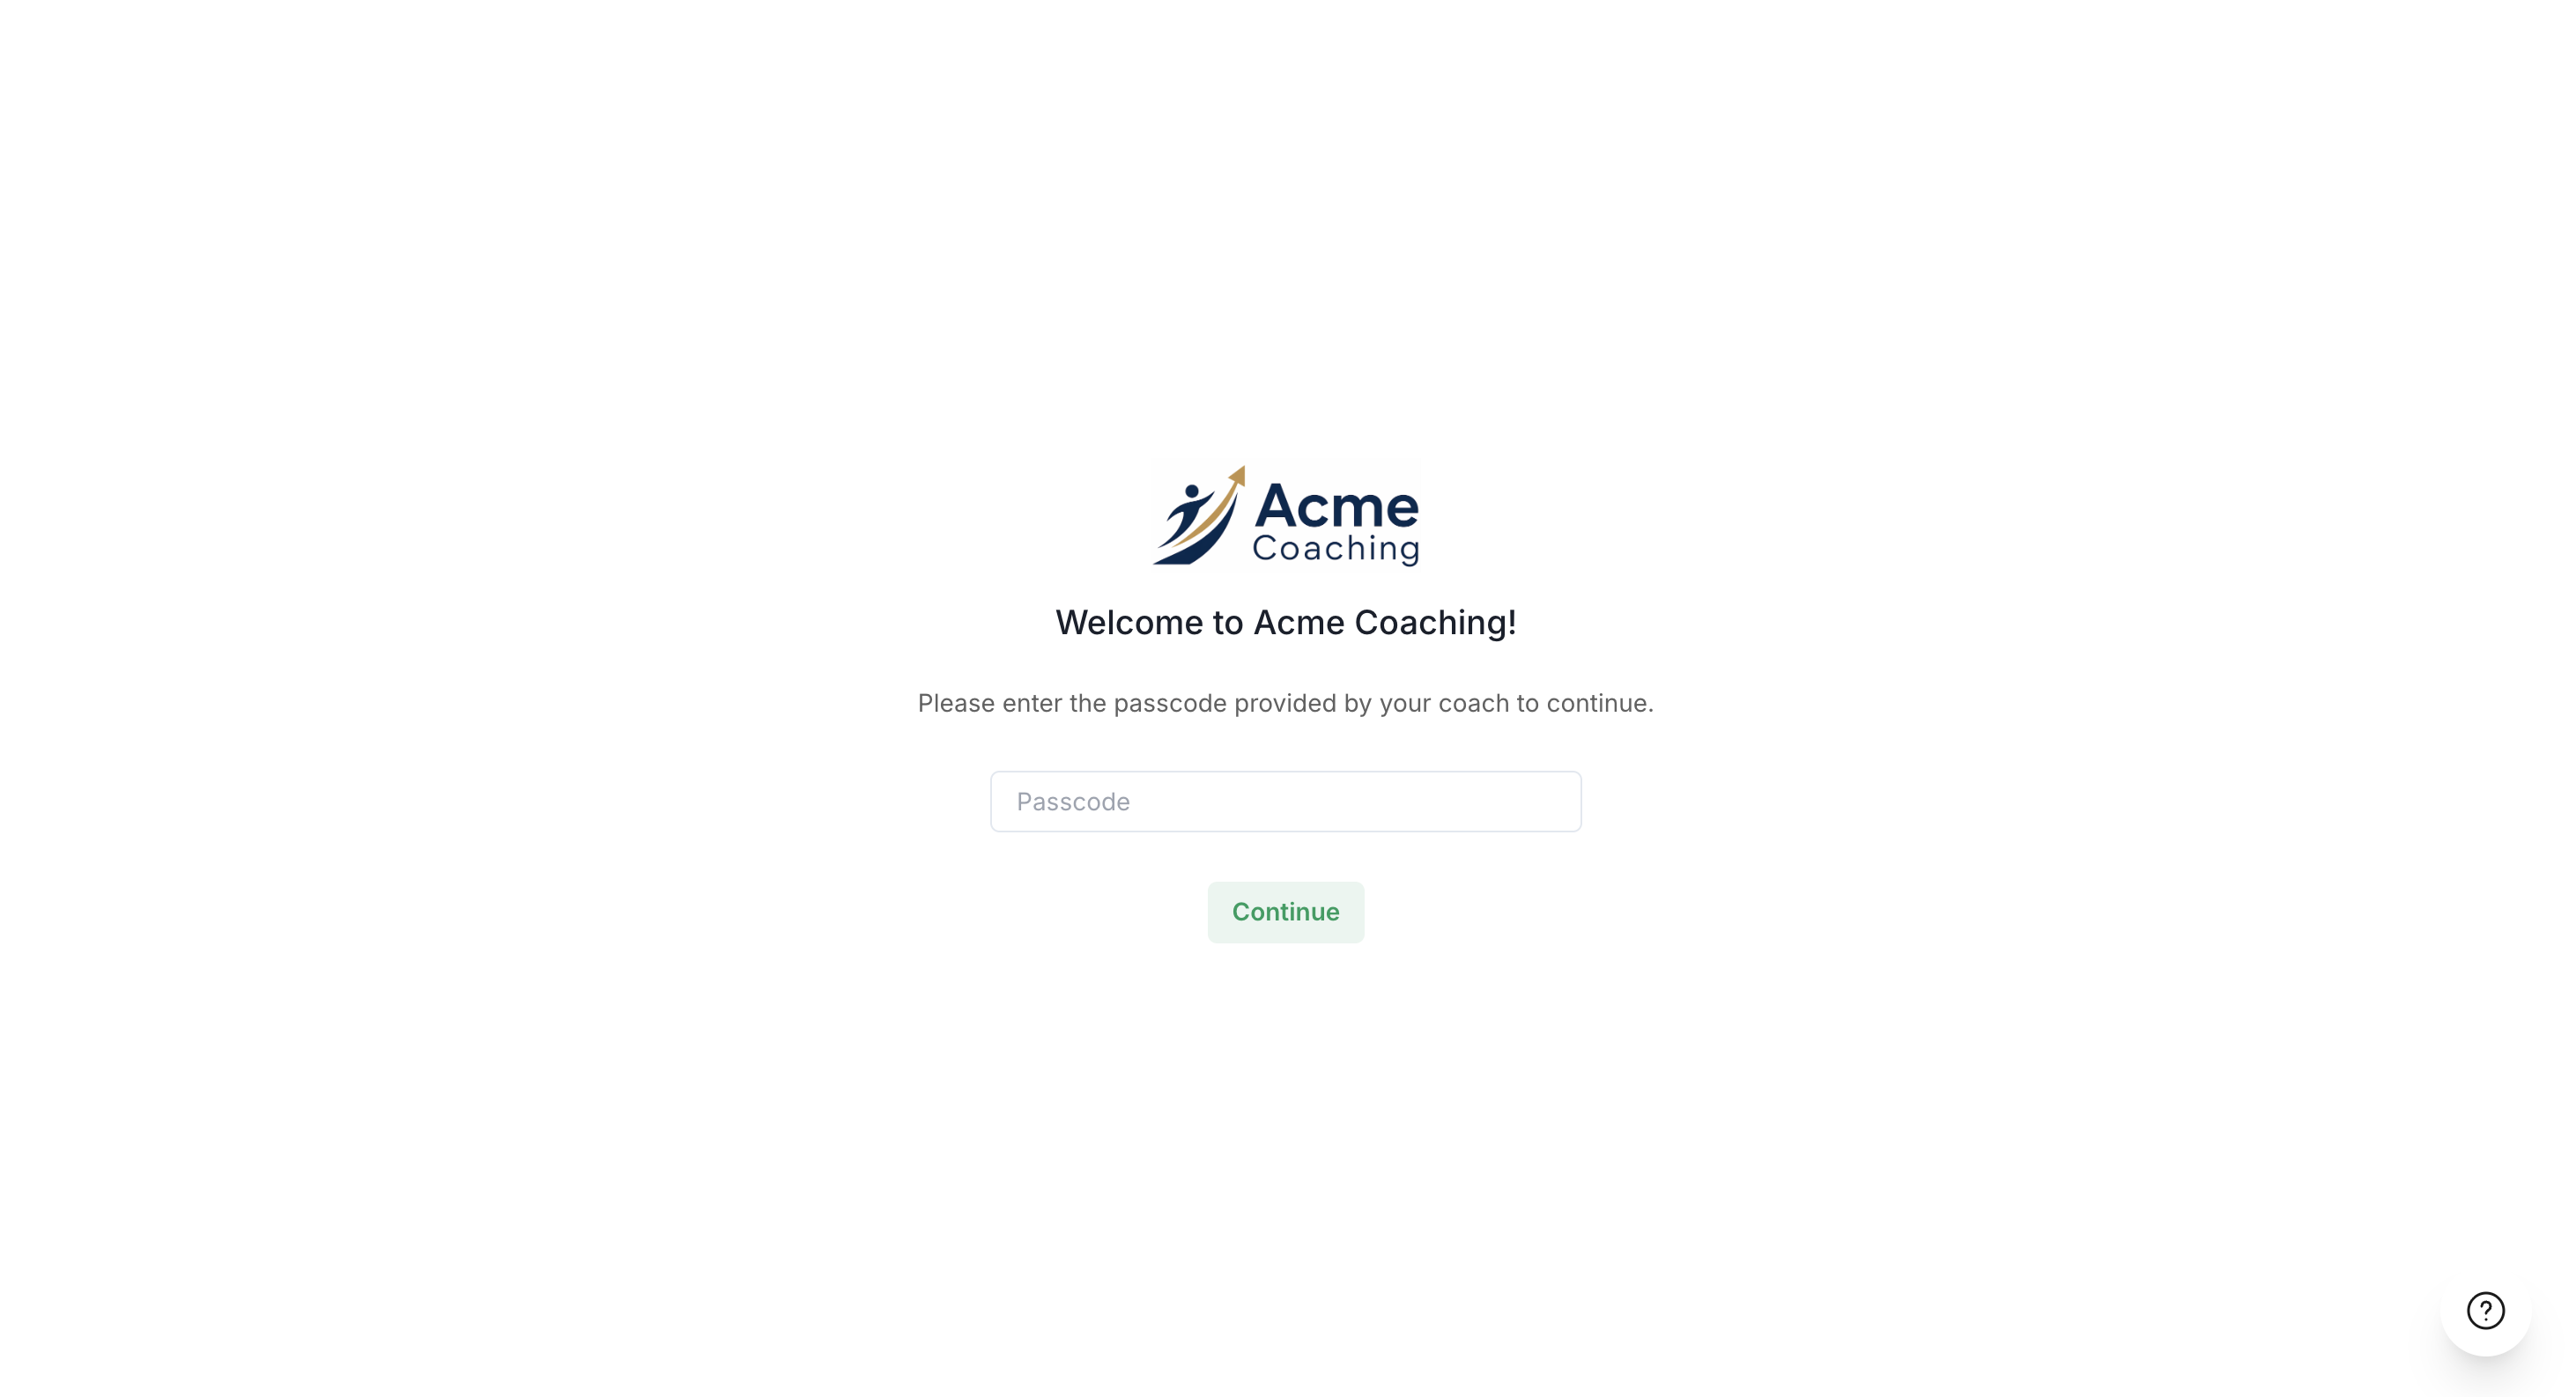
Verify Client Login Screen
The login screen will display your custom organization name (e.g., "Welcome to Acme Coaching!") with your chosen color theme.
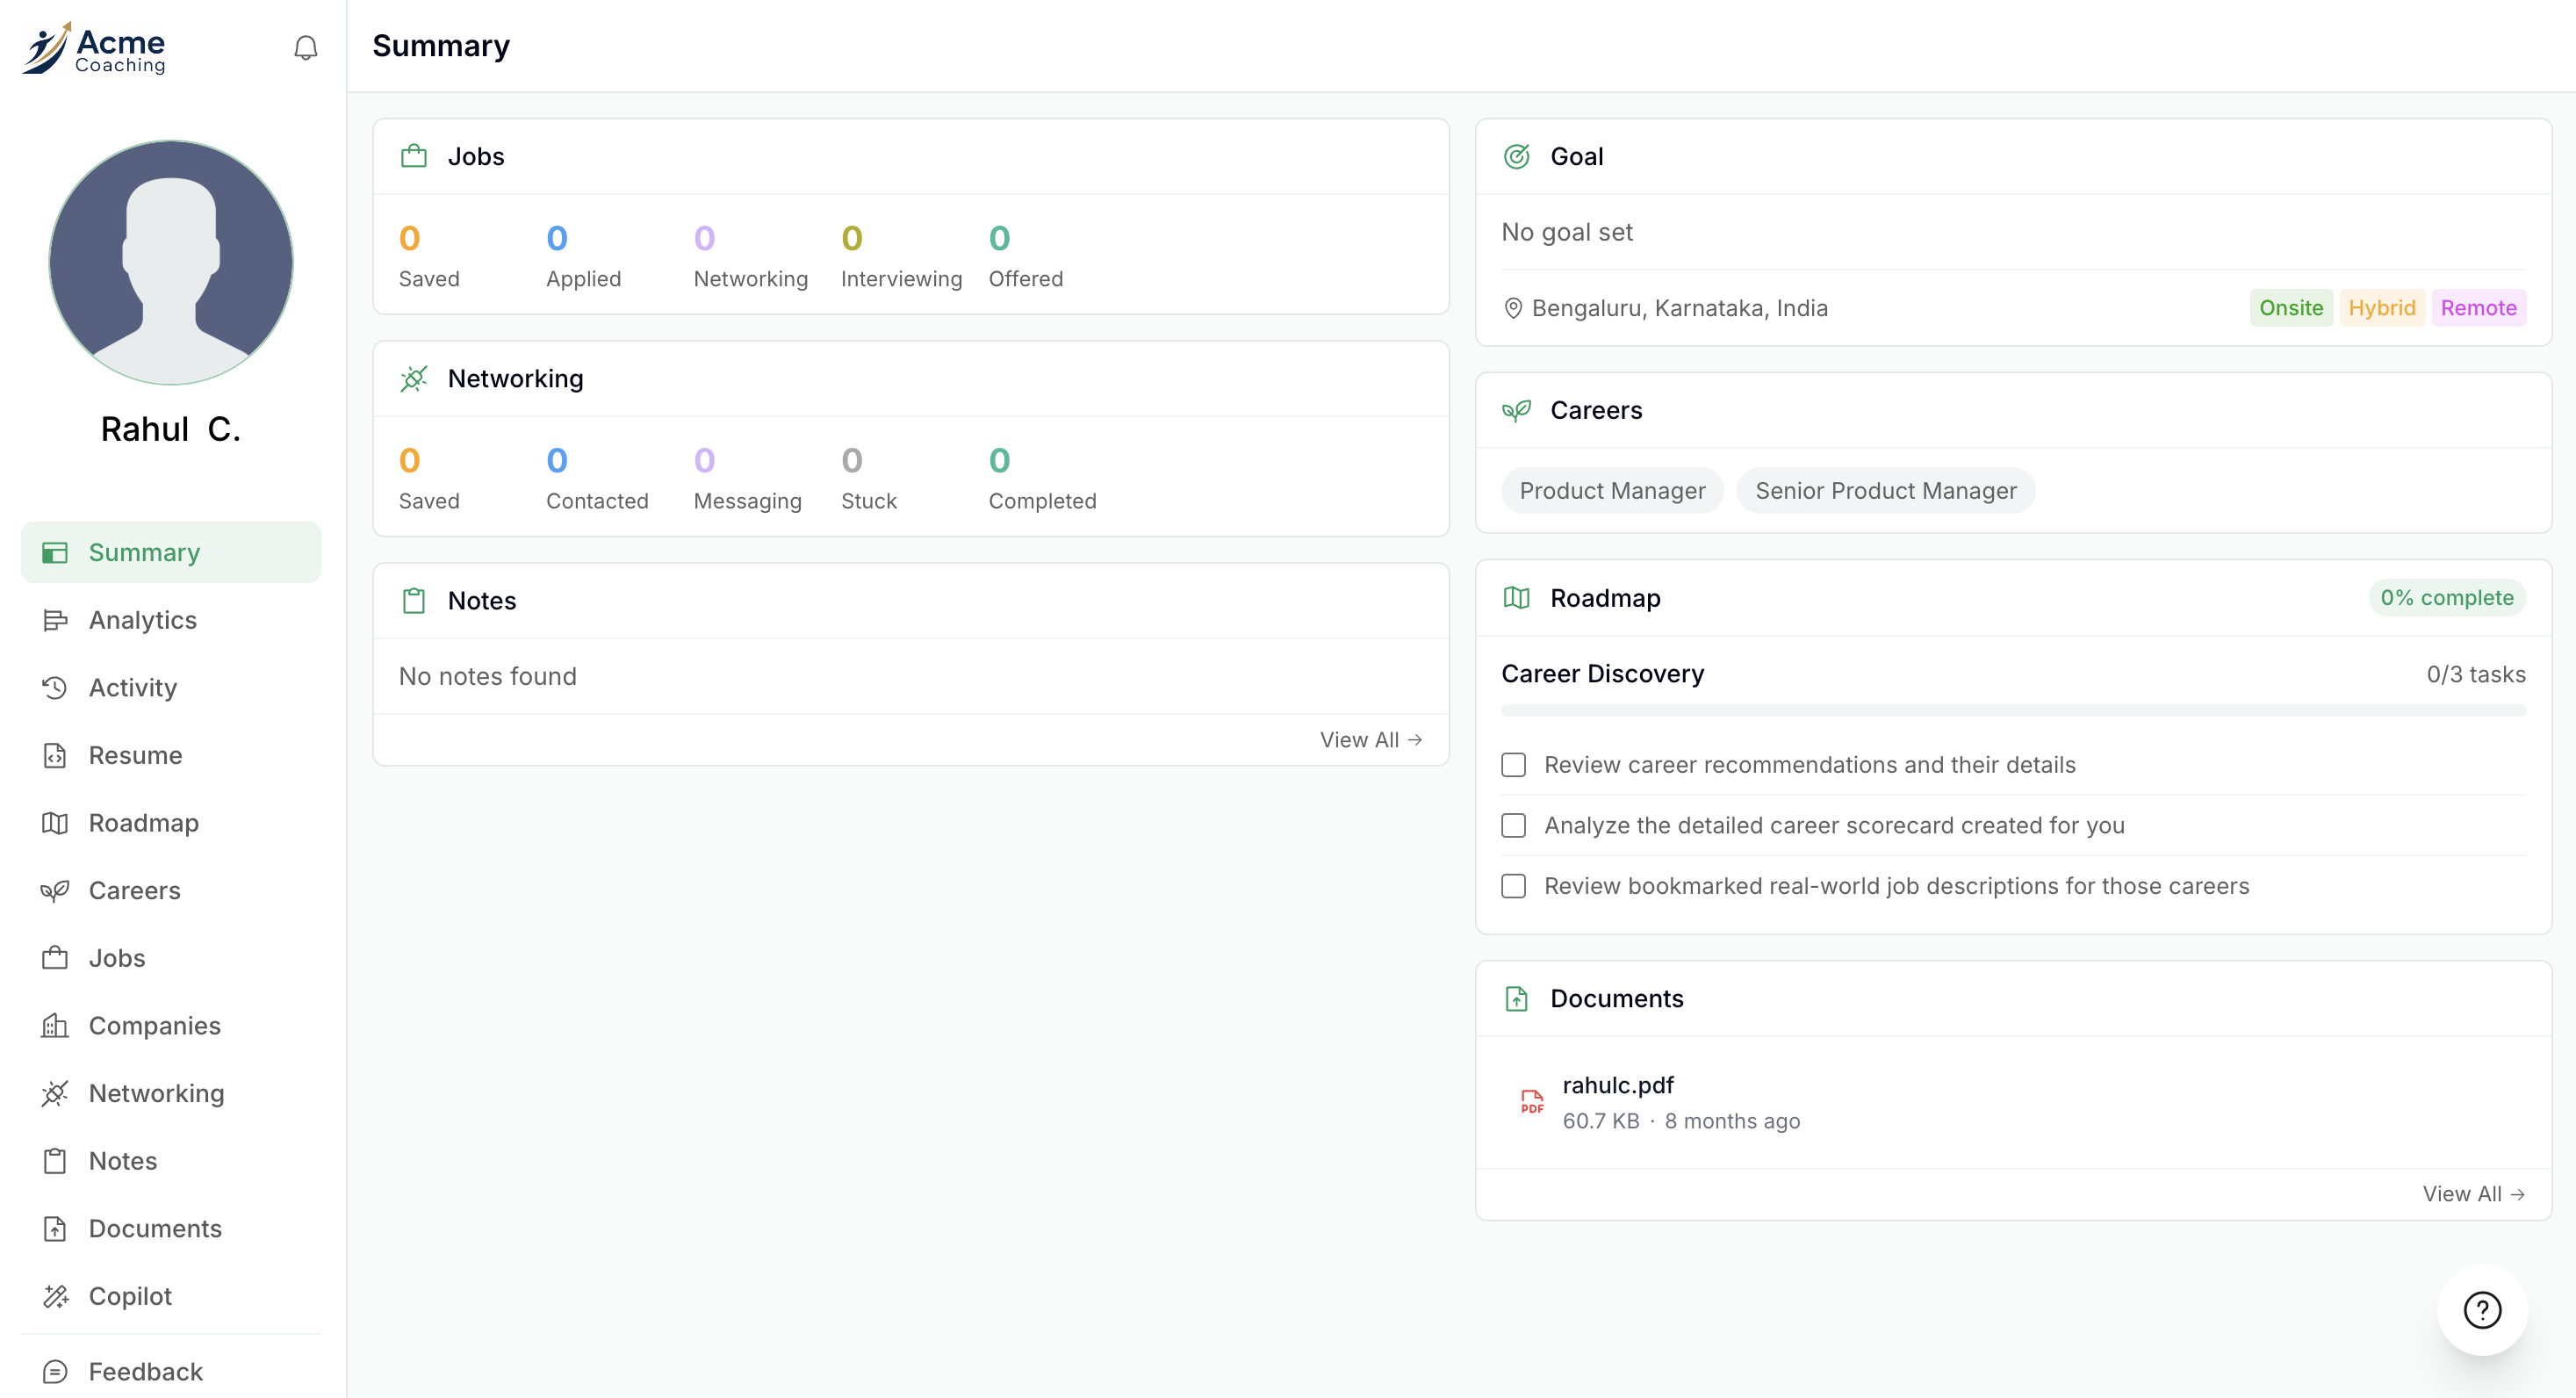
Verify Client Dashboard
After logging in with the passcode, you'll see the full client dashboard with your custom branding applied — your organization name, logo, and color theme throughout the interface.
Your clients will now experience a fully white-labeled coaching platform that reflects your brand identity, building trust and professionalism.
Video Walkthrough
For a complete visual walkthrough of the entire branding setup process, watch this video: