
Setting up Custom Domain
Connect your own domain name to the tool to create a fully branded coaching portal for your clients. A custom domain reinforces your brand and makes your coaching platform feel like a native part of your business.
Custom domains require DNS configuration with your domain registrar. You'll need access to your domain's DNS settings (e.g., GoDaddy, Namecheap, Cloudflare).
Access Custom Domain Settings
Navigate to your Profile page by clicking Profile in the left sidebar. Scroll down to the Organization section where you'll find the Custom Domain field.
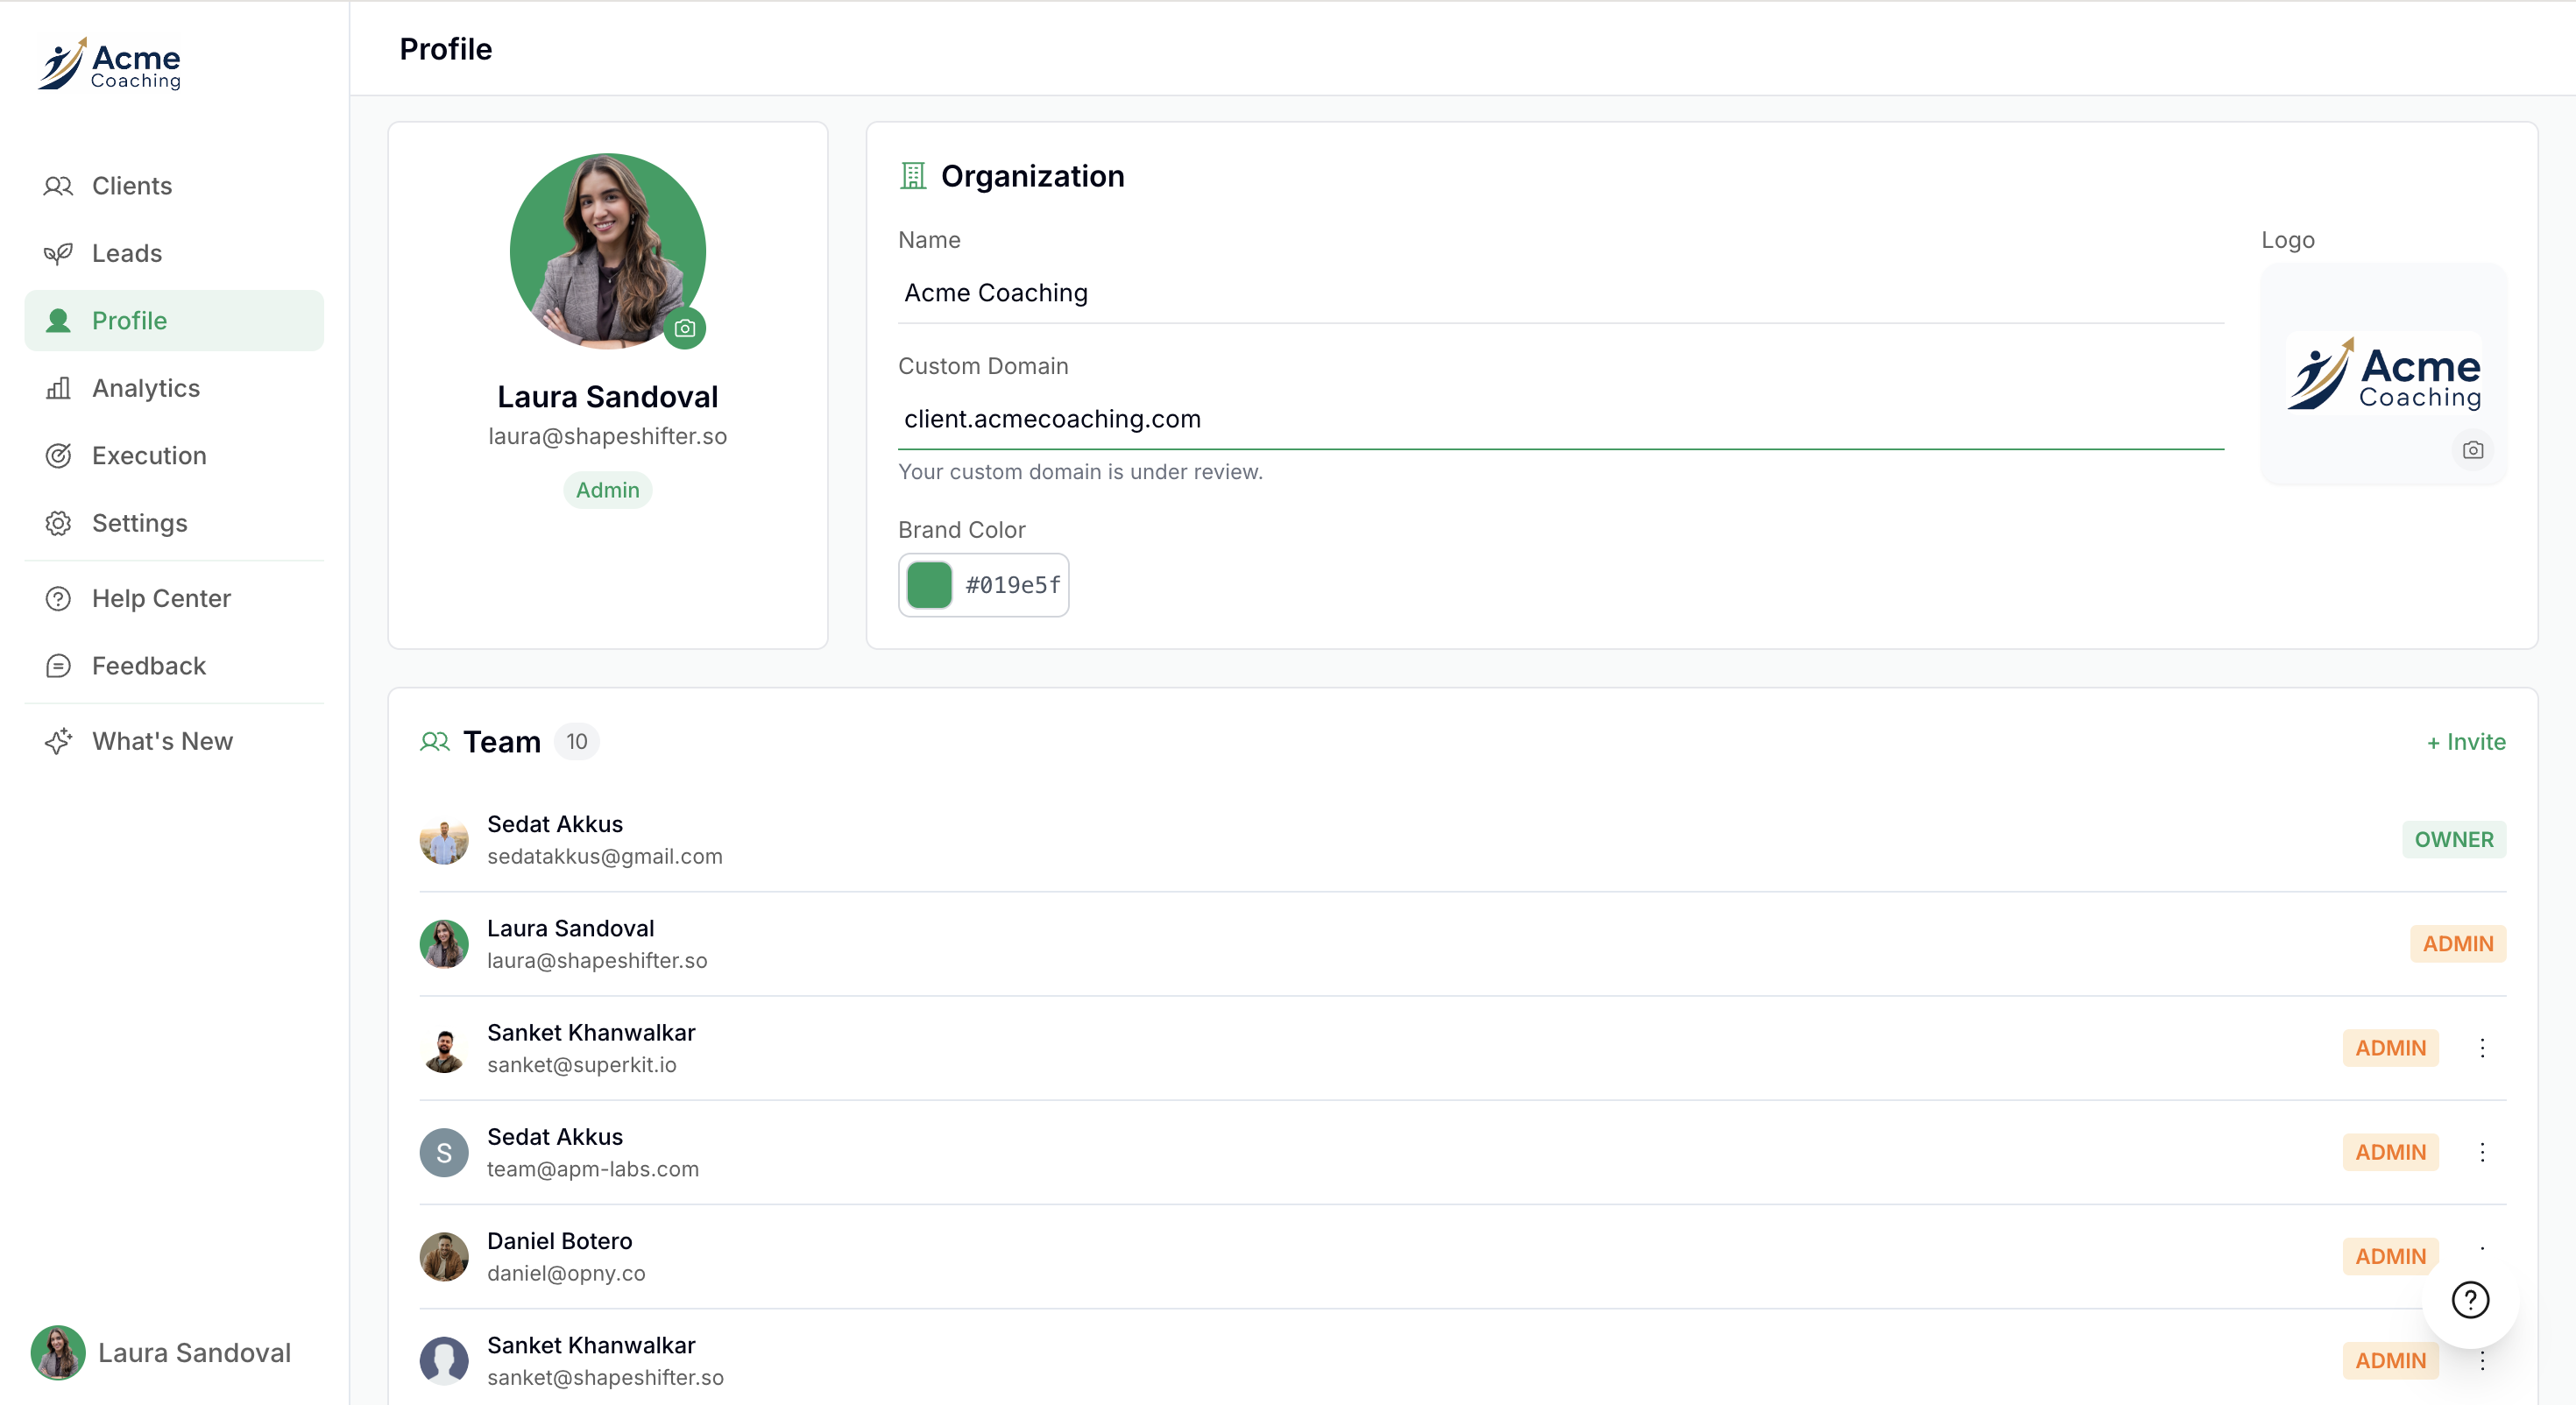
Enter Your Custom Domain
In the Custom Domain field, enter the domain or subdomain you want to use for your coaching portal.
Common formats:
client.yourdomain.com[most recommended]customer.yourdomain.com[anything].yourdomain.com
Using a subdomain (like client.yourdomain.com) is easier to configure and won't affect your main website.
Type your chosen domain into the Custom Domain field and click Save.
Configure DNS Records
Before your custom domain works, you need to point it to the tool's servers by adding DNS records at your domain registrar.
How to add DNS records:
Log in to your domain registrar (GoDaddy, Namecheap, Kajabi, etc.)
Navigate to DNS settings or DNS management for your domain
Add the following DNS records:
Type:
CNAMEName:
client(or whatever subdomain you choose)Value:
743c6213a8ee24b2.vercel-dns-016.com
Save changes at your registrar
DNS changes can take 5 minutes to 48 hours to propagate. Most changes take effect within 1-2 hours.
Popular DNS providers
Kajabi (if your landing page is hosted in Kajabi, most likely you'll need to add there)
Notify DNS Updates
After saving the custom domain inside the tool settings and configuring DNS in your domain registrar, notify the tool's team via Slack or email that the changes have been made.
The team will then:
Verify the DNS records are correctly configured and propagated
Provision whitelisting for your custom domain
Activate your custom domain
Once verified, the tool's team will notify you. After that, you can verify it yourself and your clients can access their portal at your custom domain.
Verify Client Links
Go to any existing client, and click Client View from the side panel
You should be able to see the updated domain in the link.
Existing client accounts will automatically work with the new domain, clients don't need to re-register.
Troubleshooting Custom Domains
Domain not verifying:
Wait 2-4 hours for DNS propagation
Verify DNS records exactly match the tool's instructions
Just refresh the browser and reload the page
SSL certificate errors:
Allow up to 24 hours for SSL provisioning to complete
Ensure all DNS records are correctly configured
Contact support if errors persist after 24 hours
Subdomain vs root domain issues:
Subdomains (coaching.yourdomain.com) use CNAME records
Root domains (yourdomain.com) require A records and may need ALIAS records depending on your registrar
Video Walkthrough
For a complete visual walkthrough of custom domain setup and other organization settings, watch this video: