
Setting Up Jobs
The Jobs feature in the tool gives your clients access to AI-powered job matching from a database of 5M+ analyzed positions. This guide walks you through the initial setup wizard to configure job matching for a client.
Before you begin: Make sure you have access to the client's profile and that the Jobs component is enabled for your account.
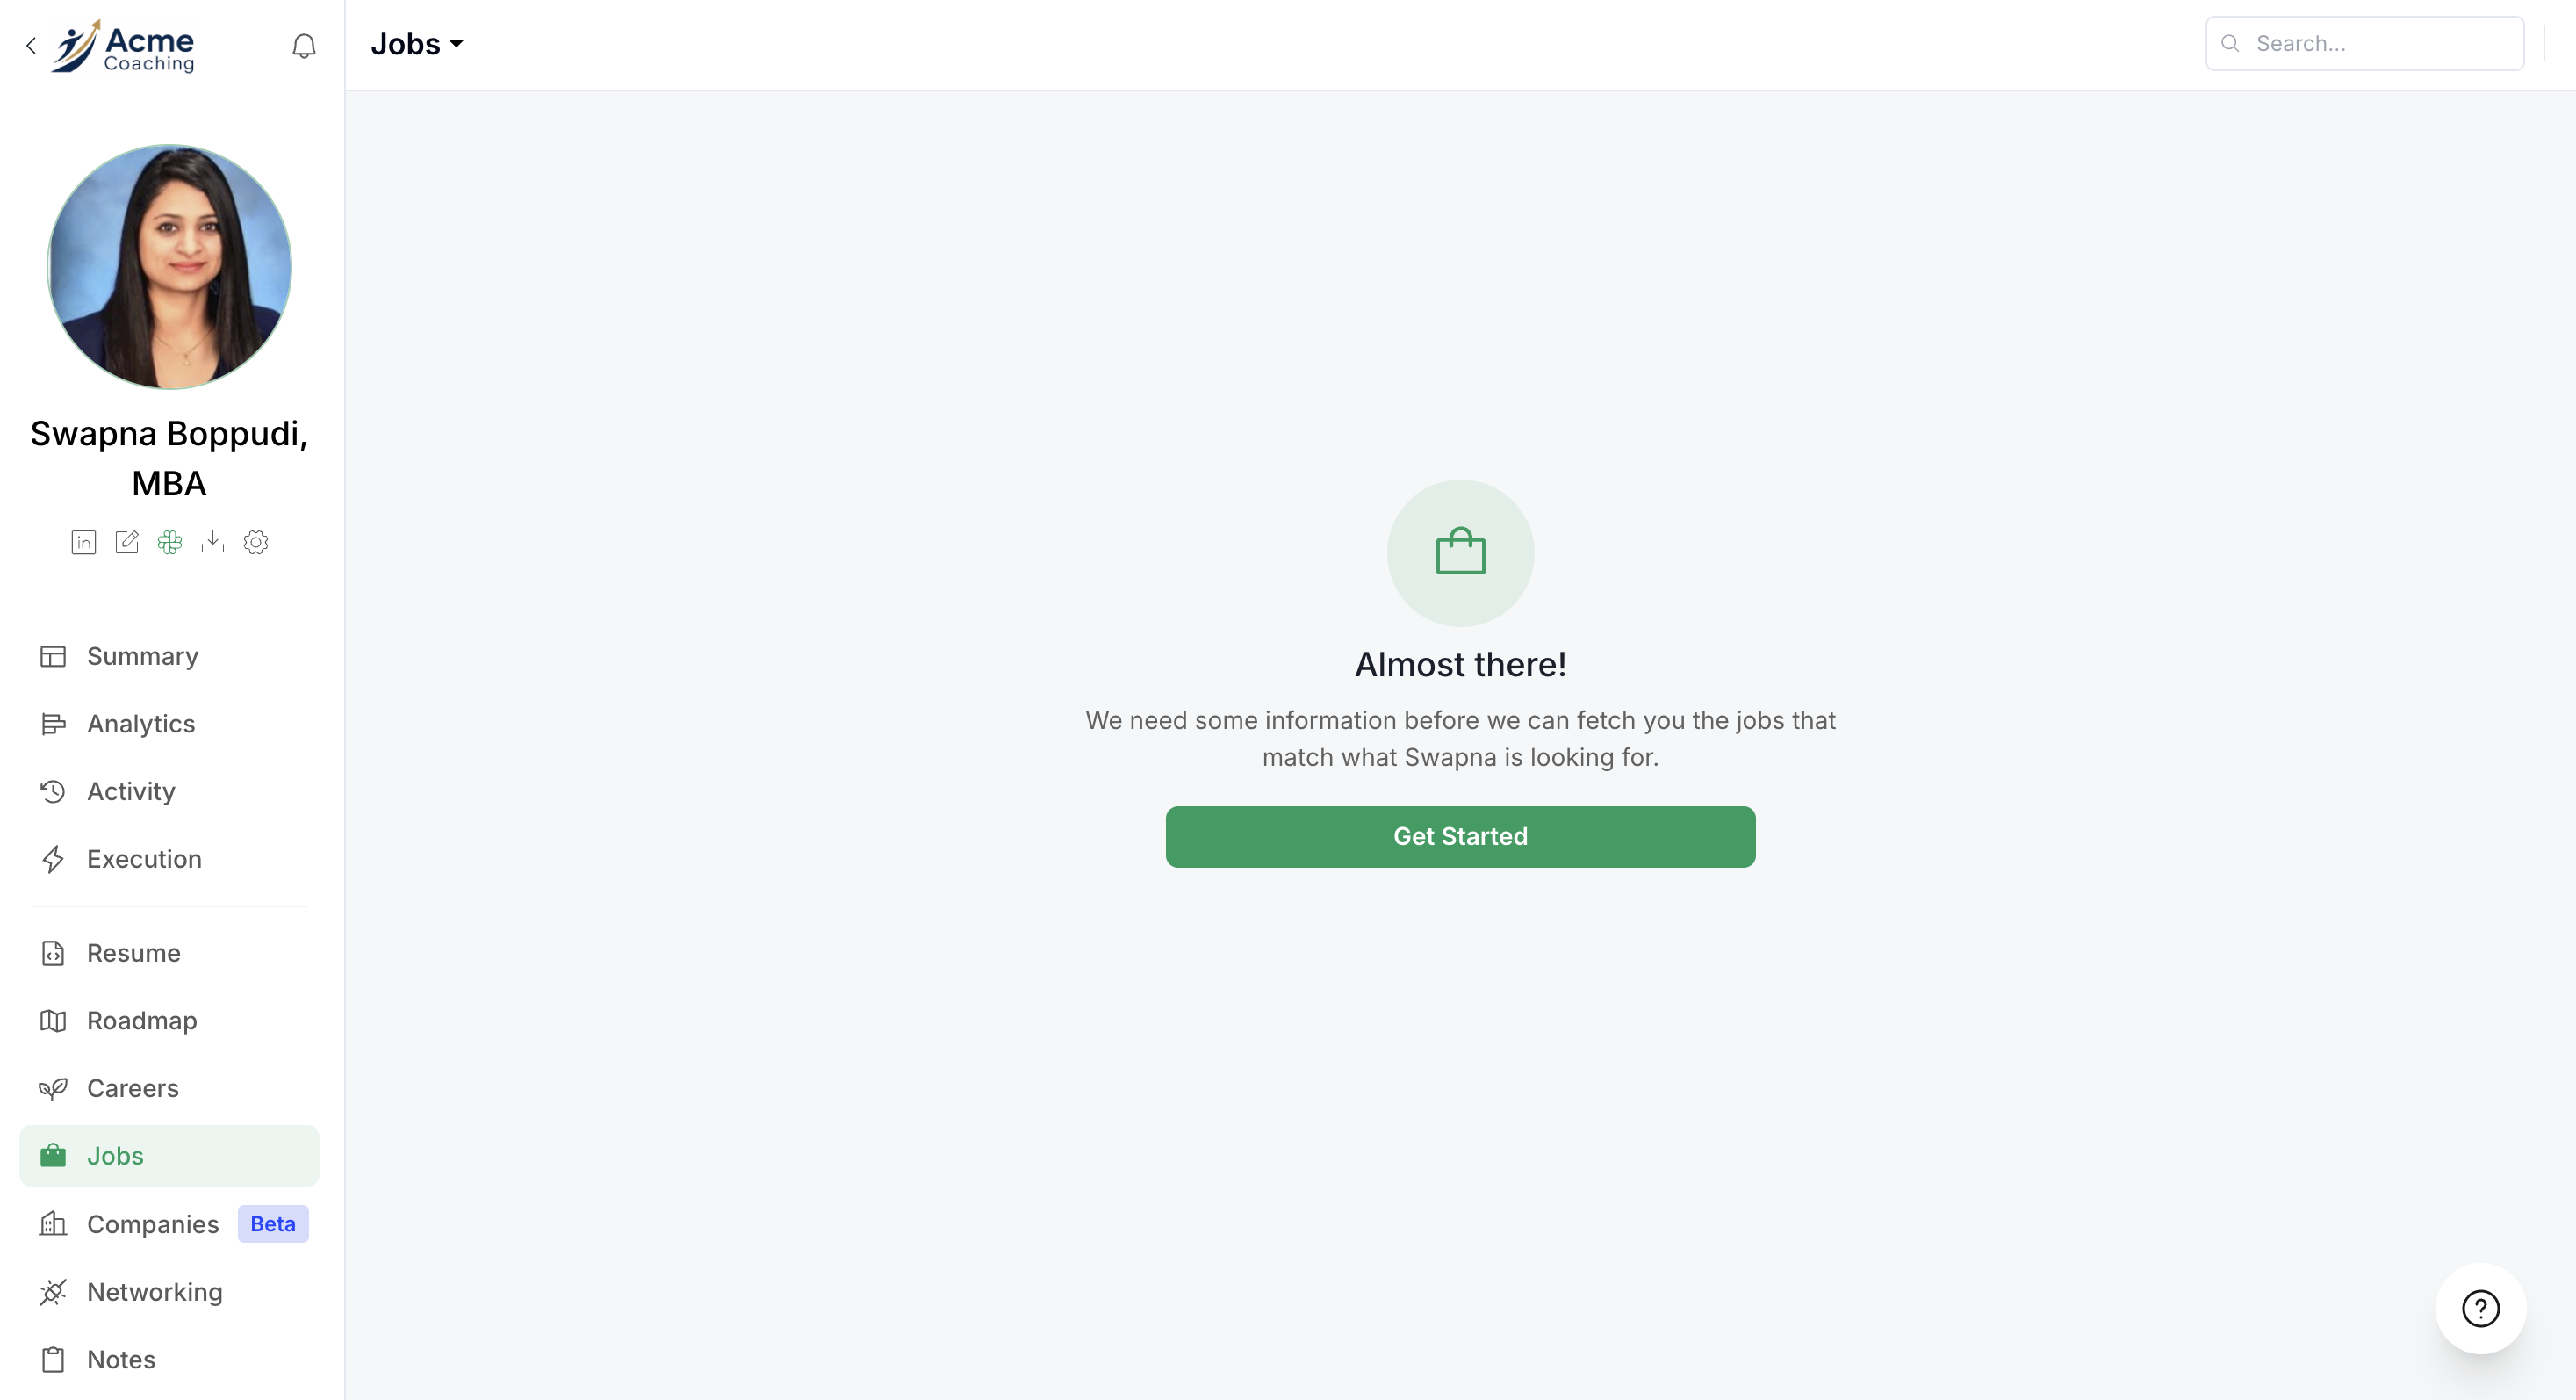
Step 1: Activate the Jobs Component
Navigate to your client's profile and locate the Jobs section. Click the Get Started button to begin the setup wizard.
Step 2: Select Position Matching Type
You'll be presented with two matching options:
Relevant [Recommended] – Broader matching that includes variations and related titles
Exact – Strict title matching (e.g., only "Senior Software Engineer" positions)
For most clients, select Relevant to cast a wider net and include variations of their target position.
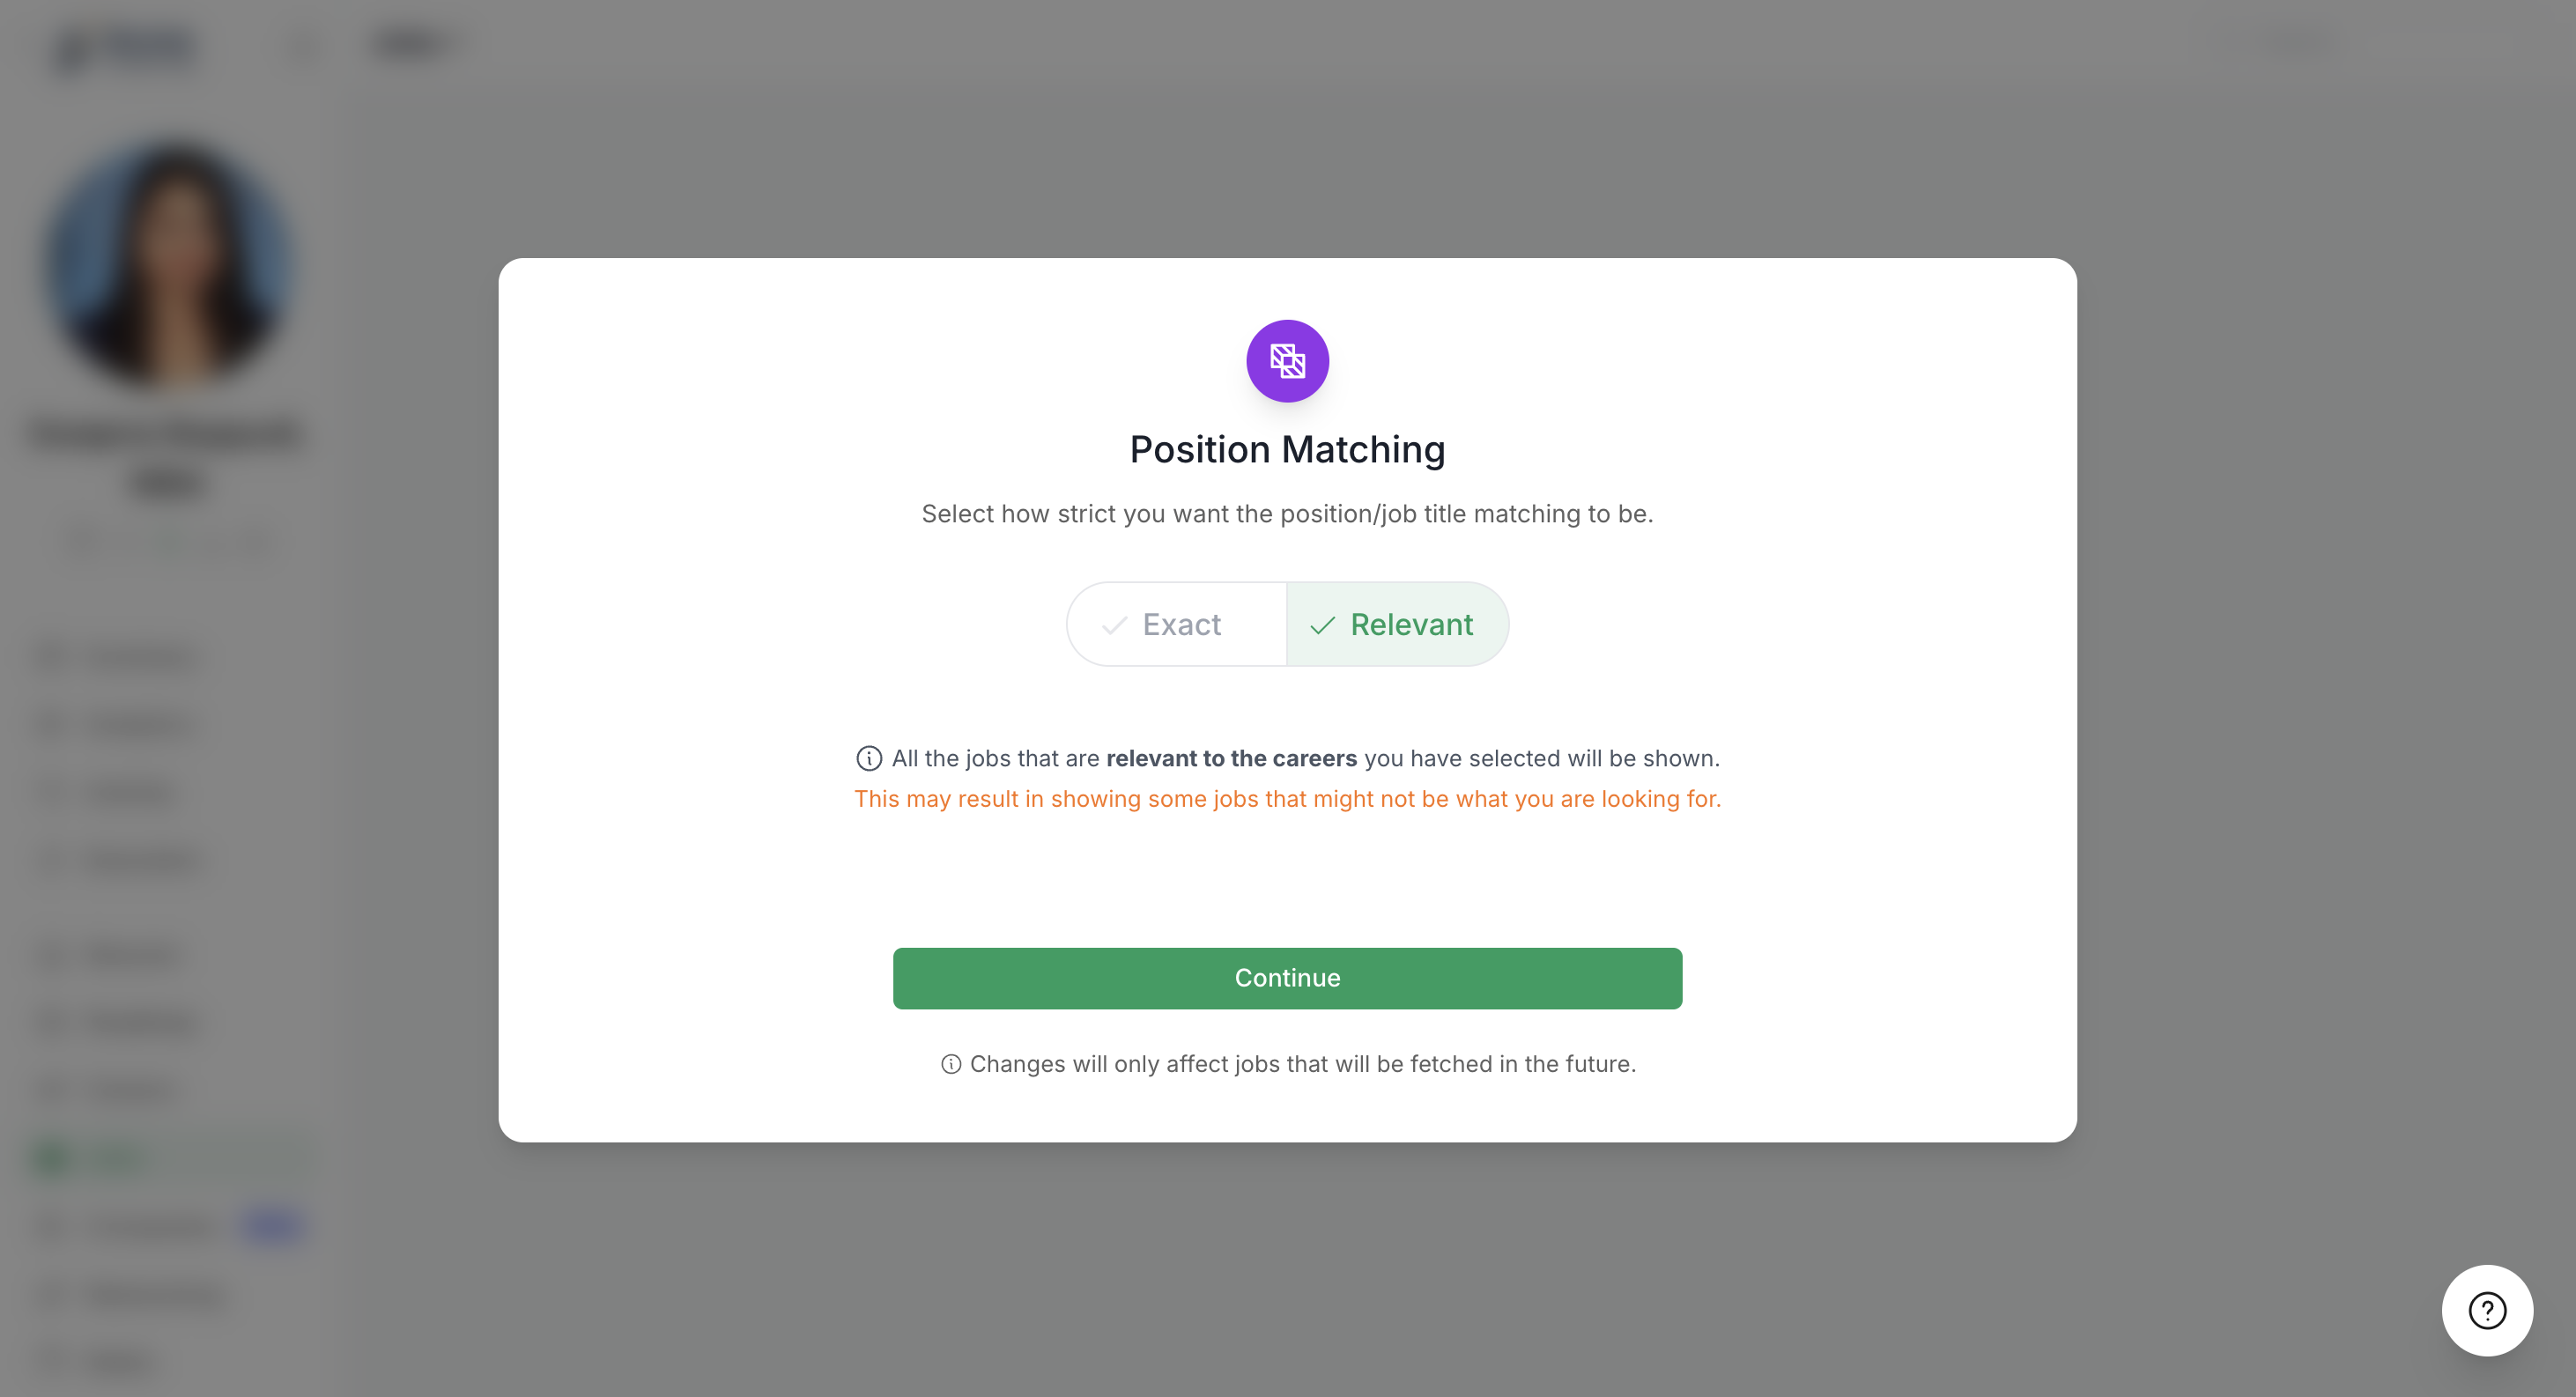
Click Continue to proceed.
Step 3: Filter by Industries
Select or deselect industries to refine the job search. Unchecking irrelevant industries (like real estate, nonprofit, or government if they don't match your client's goals) helps reduce noise in the results.
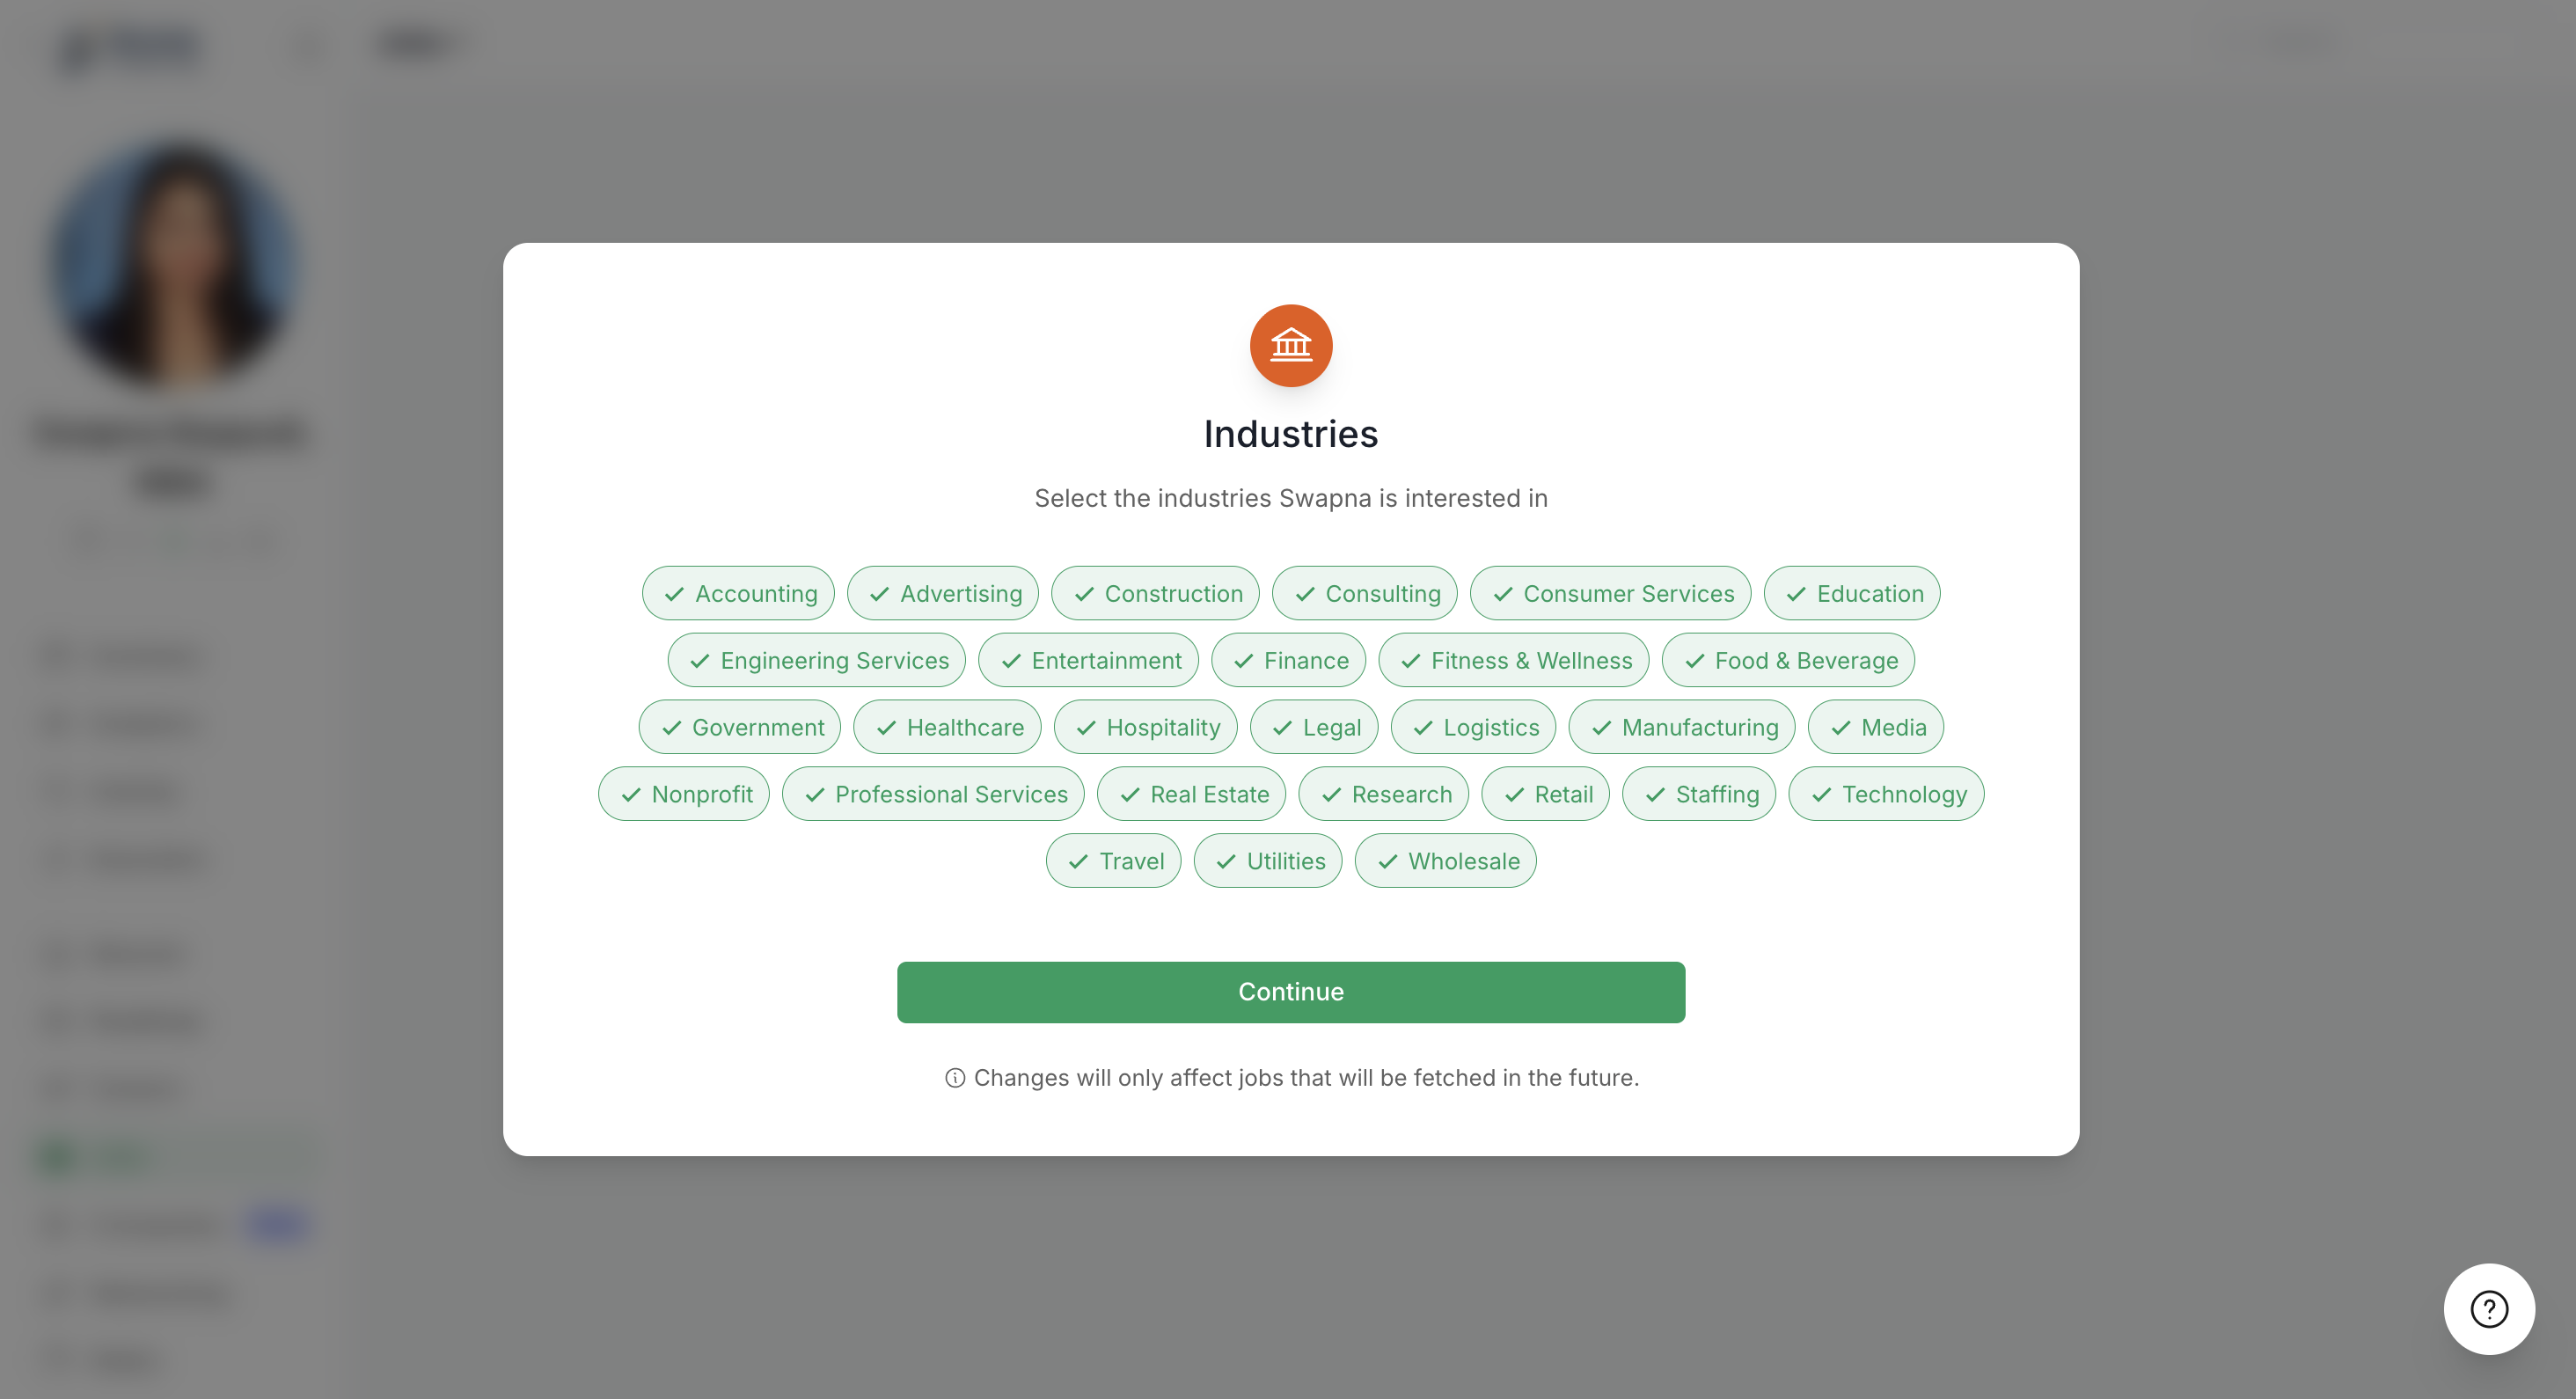
We generally recommend that you select all industries in the beginning to receive an acceptable volume of jobs. Later, you can always go back to this screen and remove certain industries if you like.
Click Continue once you've selected the appropriate industries.
Step 4: Add Custom Tags (Beta)
If your client has niche interests or specializations, you can add custom tags to further filter jobs. For example, if they're interested in crypto-related finance roles, add "crypto" as a tag.
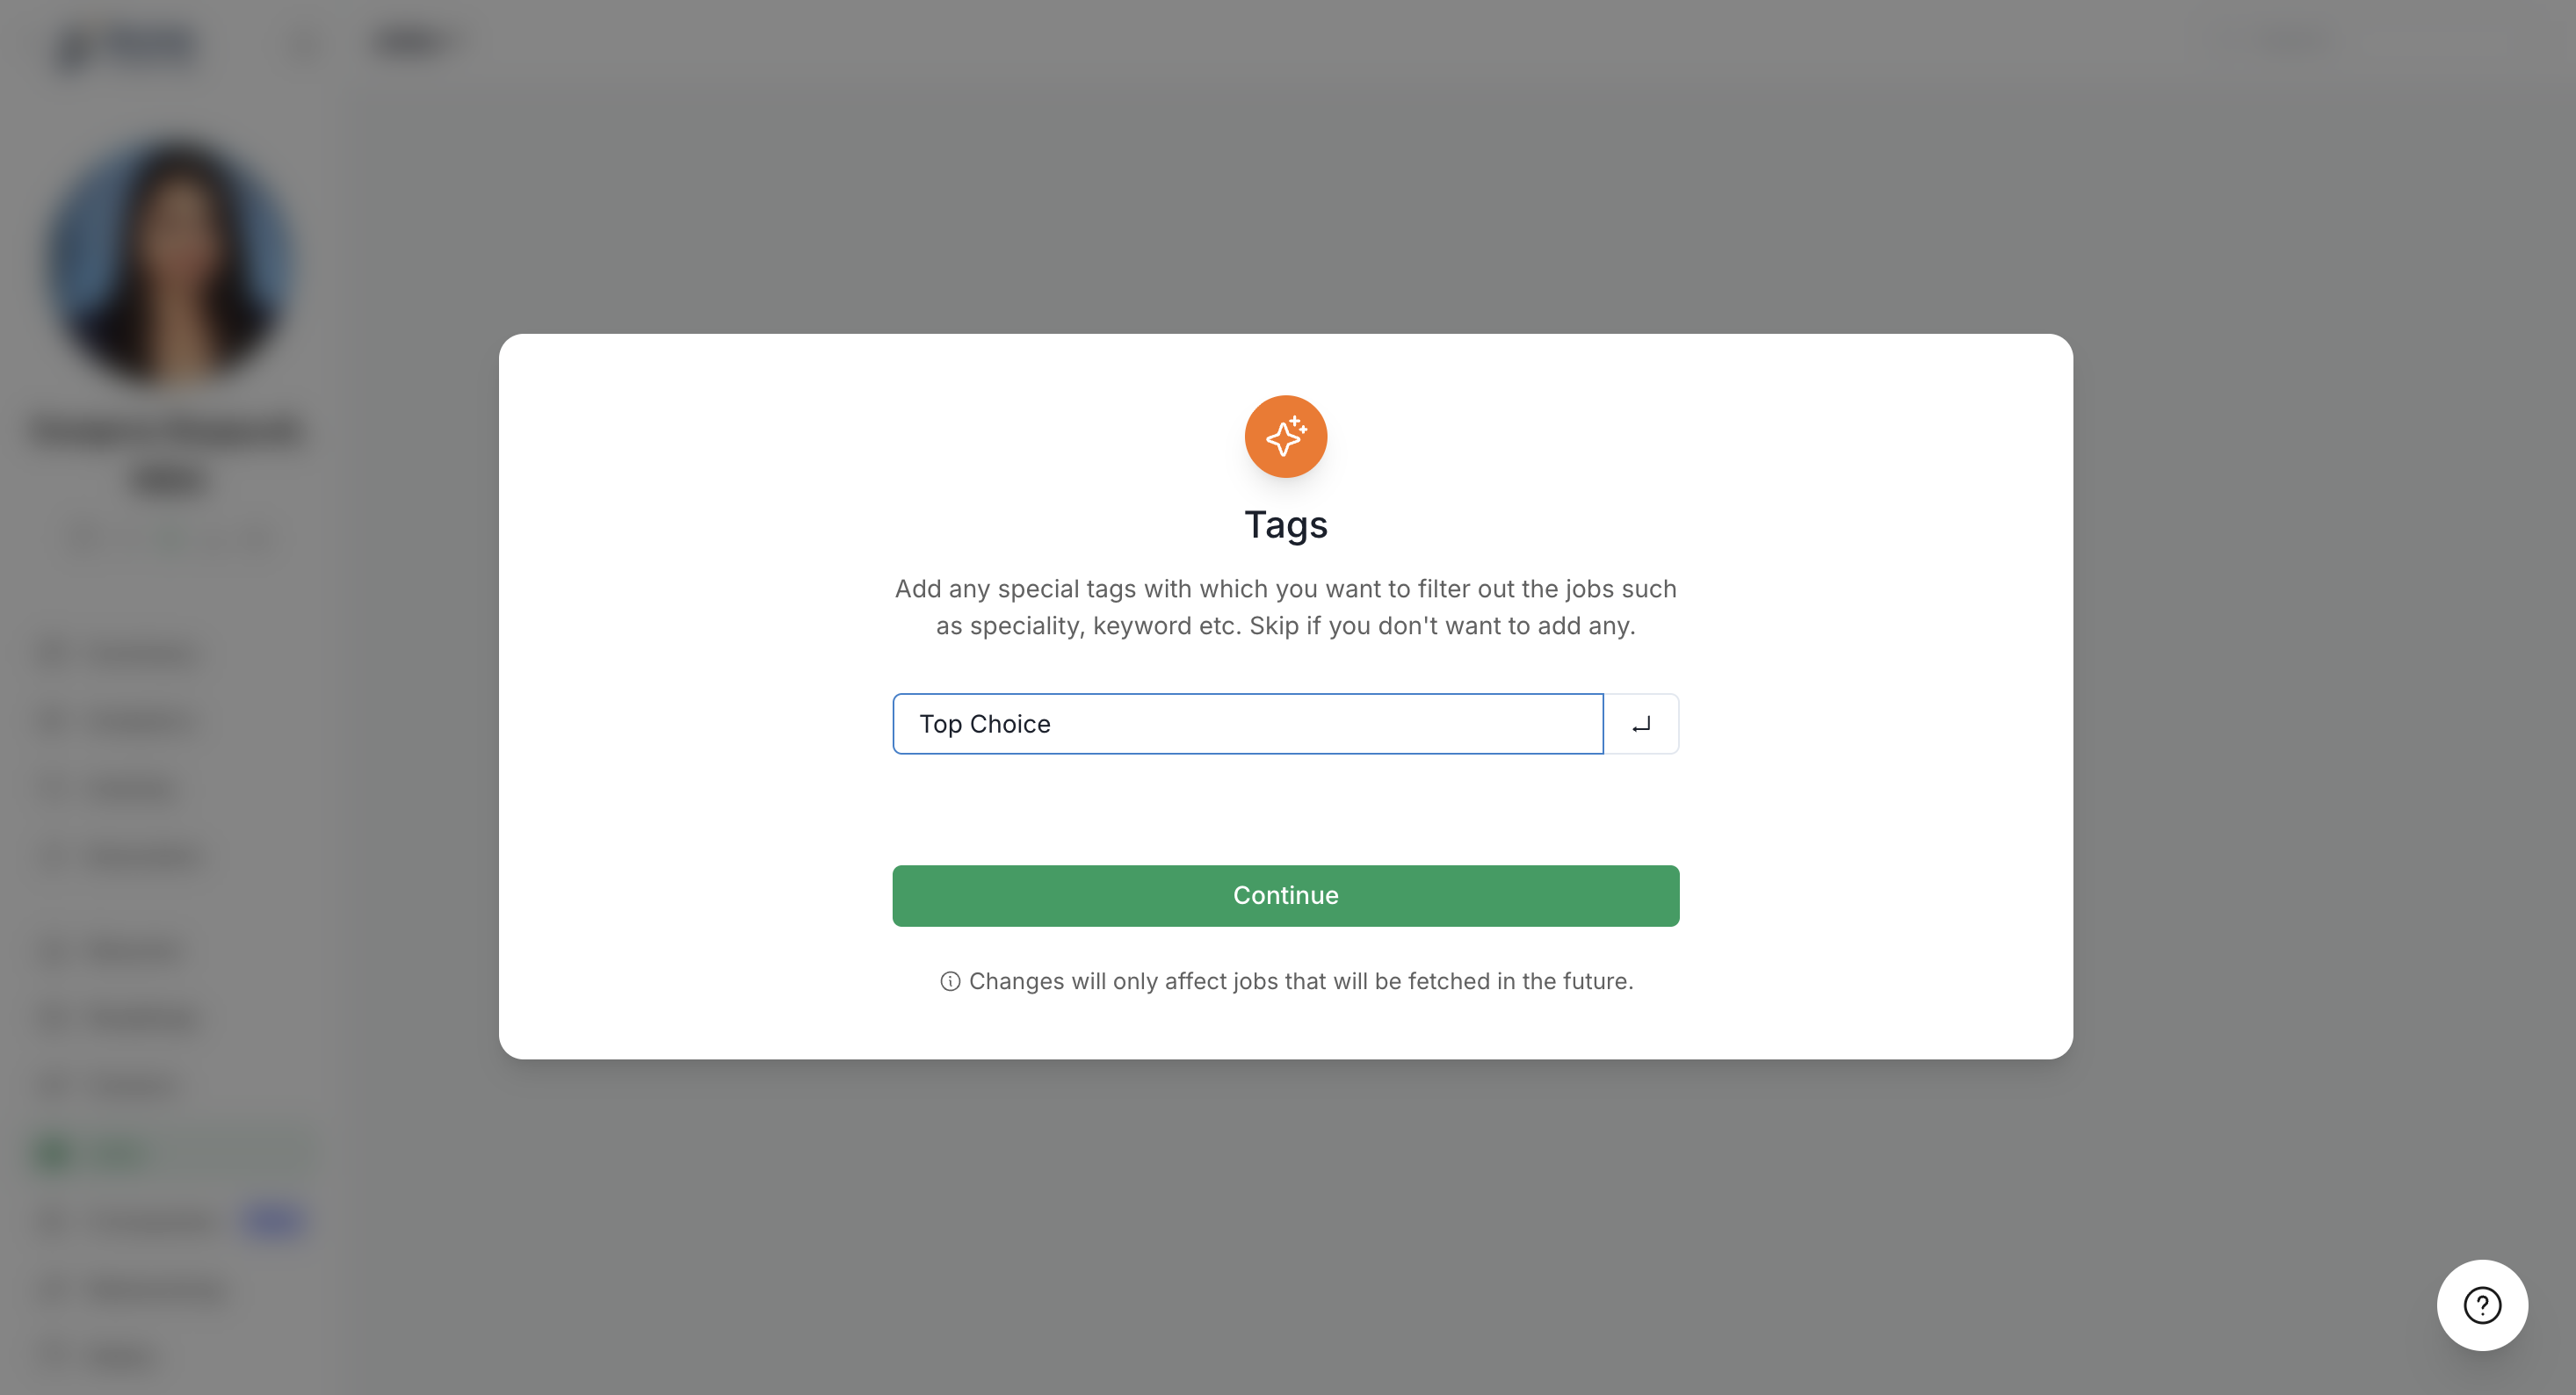
This feature maynot be enabled for all accounts. If you don't see it, simply proceed to the next step.
Step 5: AI Job Filtering (Beta)
The AI Job Prompt is a powerful, high-precision tool designed to act as your final filtering layer. While the tool already uses your primary settings (careers, salaries, locations, and industries) to curate a job list, this feature allows for strict refinements to ensure only the most relevant opportunities reach your dashboard.
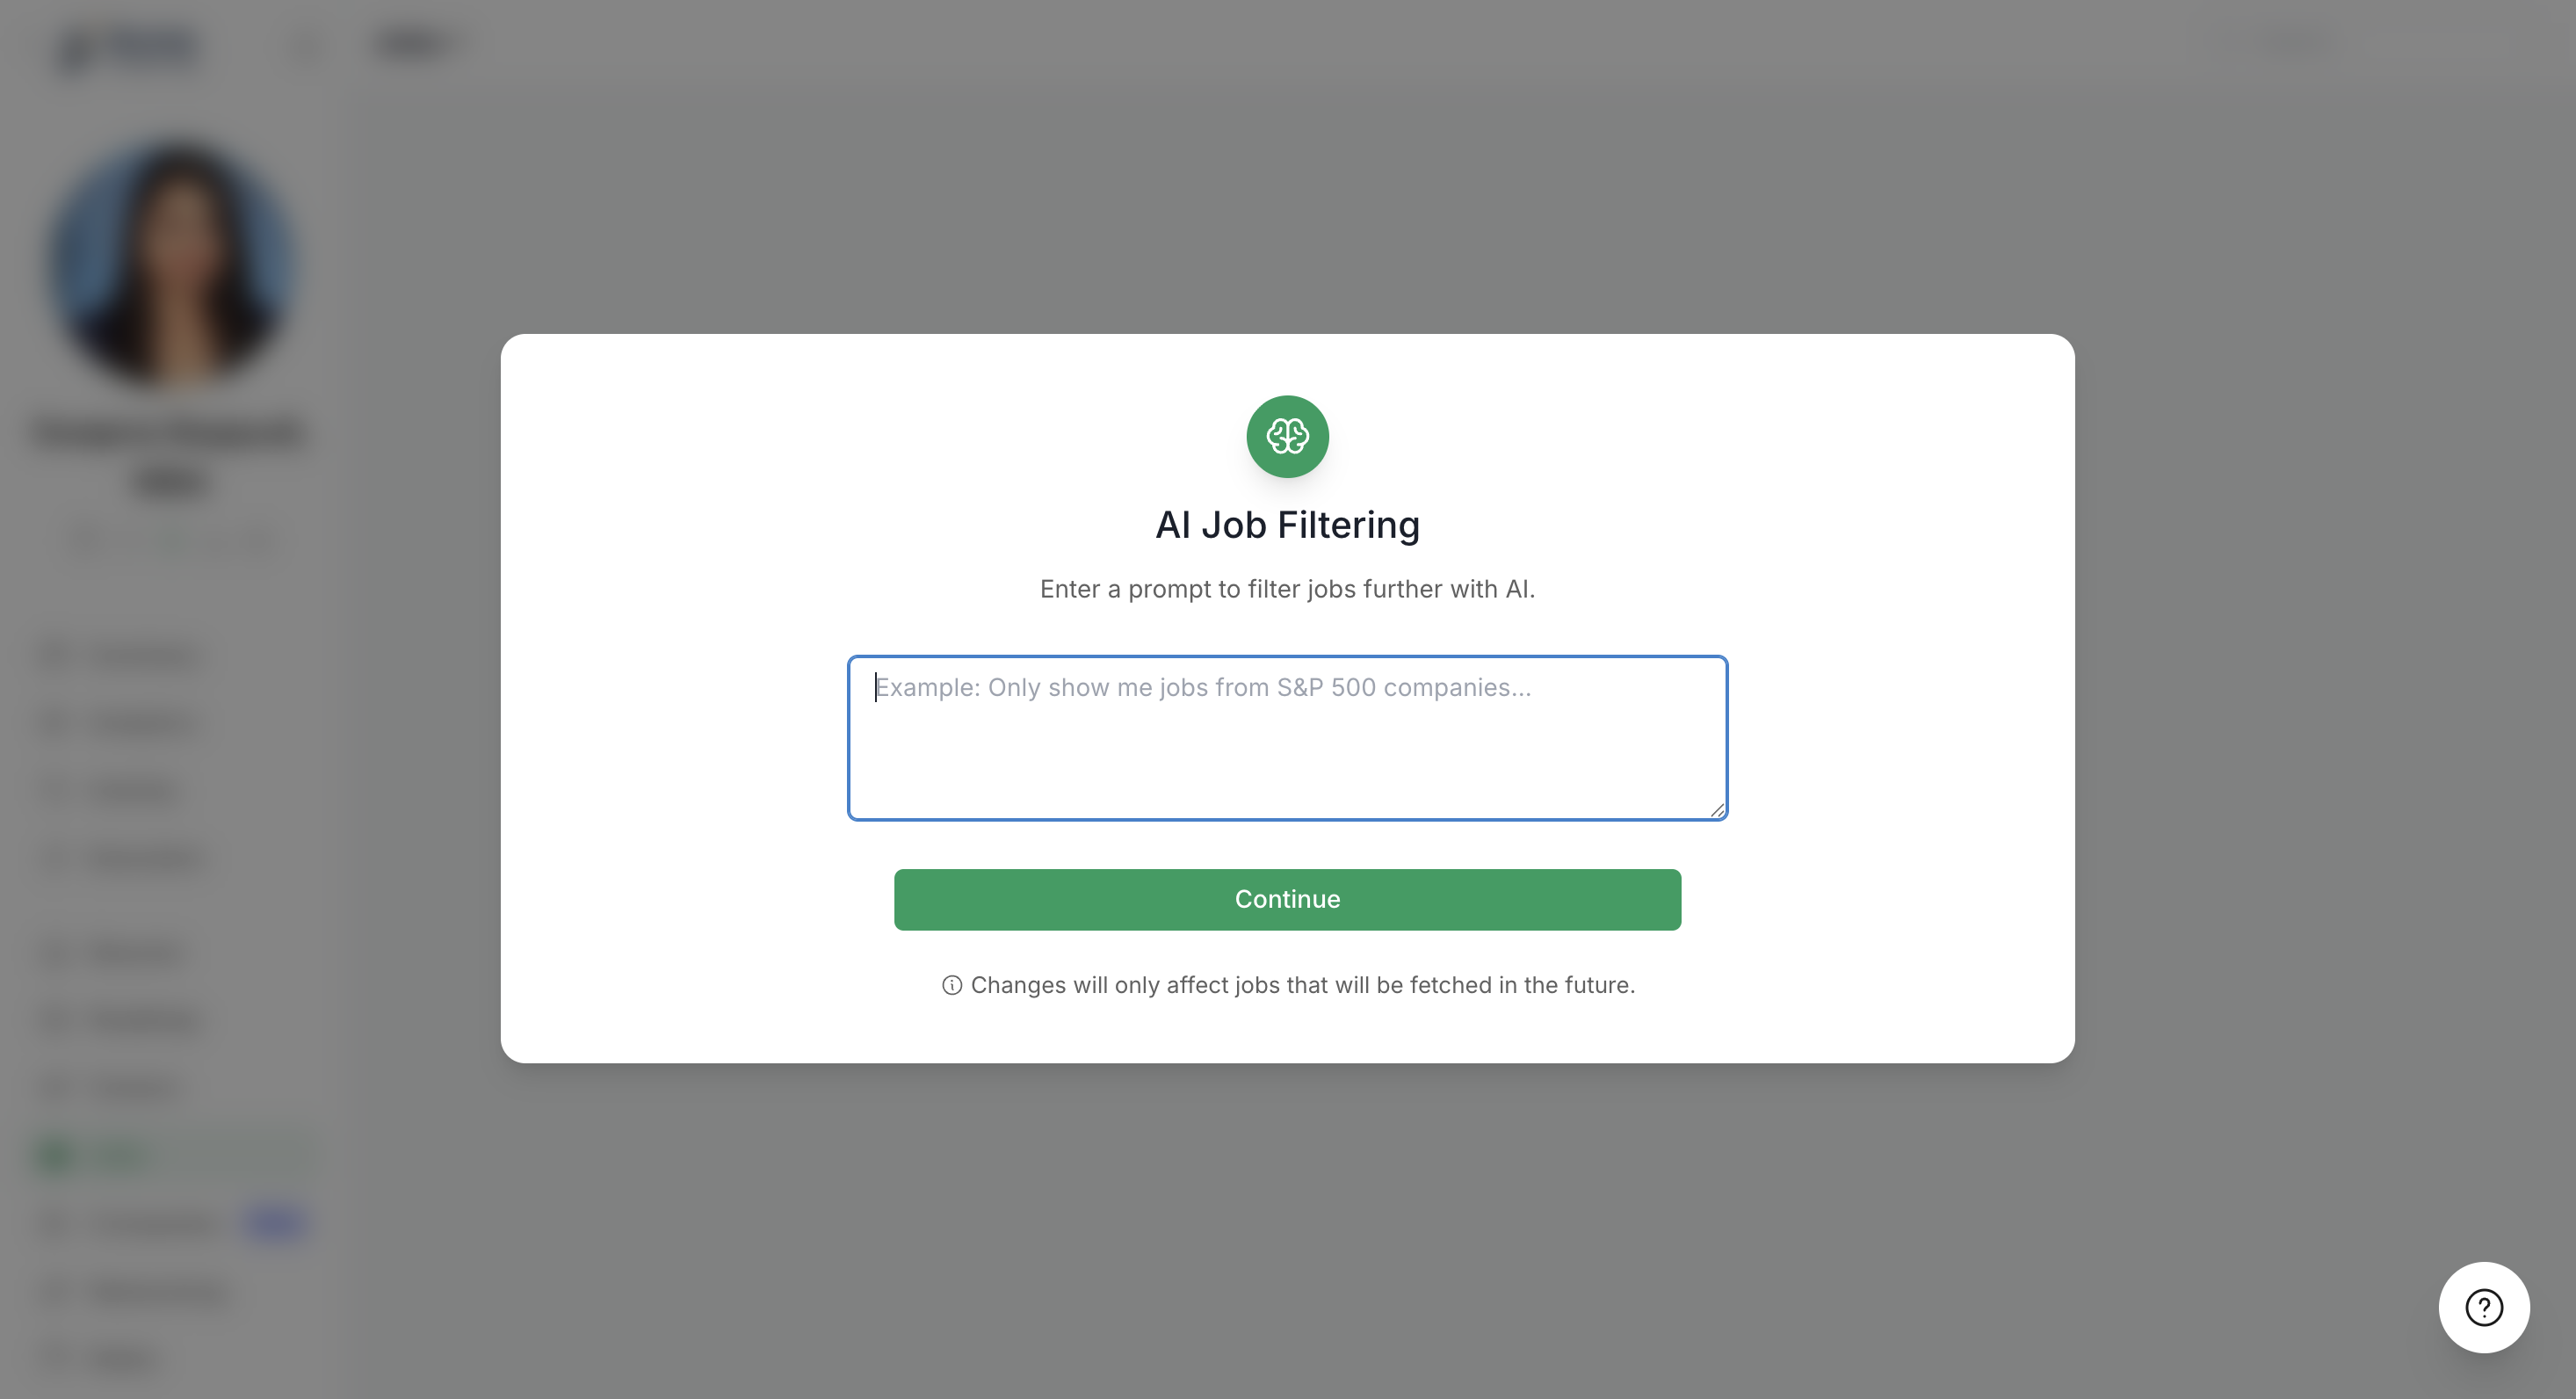
Note: This feature is currently in a staged rollout and may not be available for all clients. If you do not see this option during setup, simply proceed to the next step.
Best Practices
Focus on the "Fine Print": Use this for nuances standard filters miss, such as company size, funding stage (e.g., "Only Series C startups"), or business models (e.g., "B2B only").
Filter by Exclusion: This is the best way to "clean" a feed. Use prompts like "Exclude any roles related to Crypto" or "Exclude positions that require 50%+ travel."
Avoid Redundancy: Do not re-enter job titles, locations, or salaries already defined in your Position List. Repeating these can lead to "over-filtering" and hide valid jobs.
Be Specific: Instead of "cool companies," use concrete criteria like "Prioritize S&P 500 companies" or "Focus on B-Corp certified organizations."
Set and Monitor: Remember that prompts only affect future job fetches. If the feed becomes too narrow, try broadening or removing the prompt.
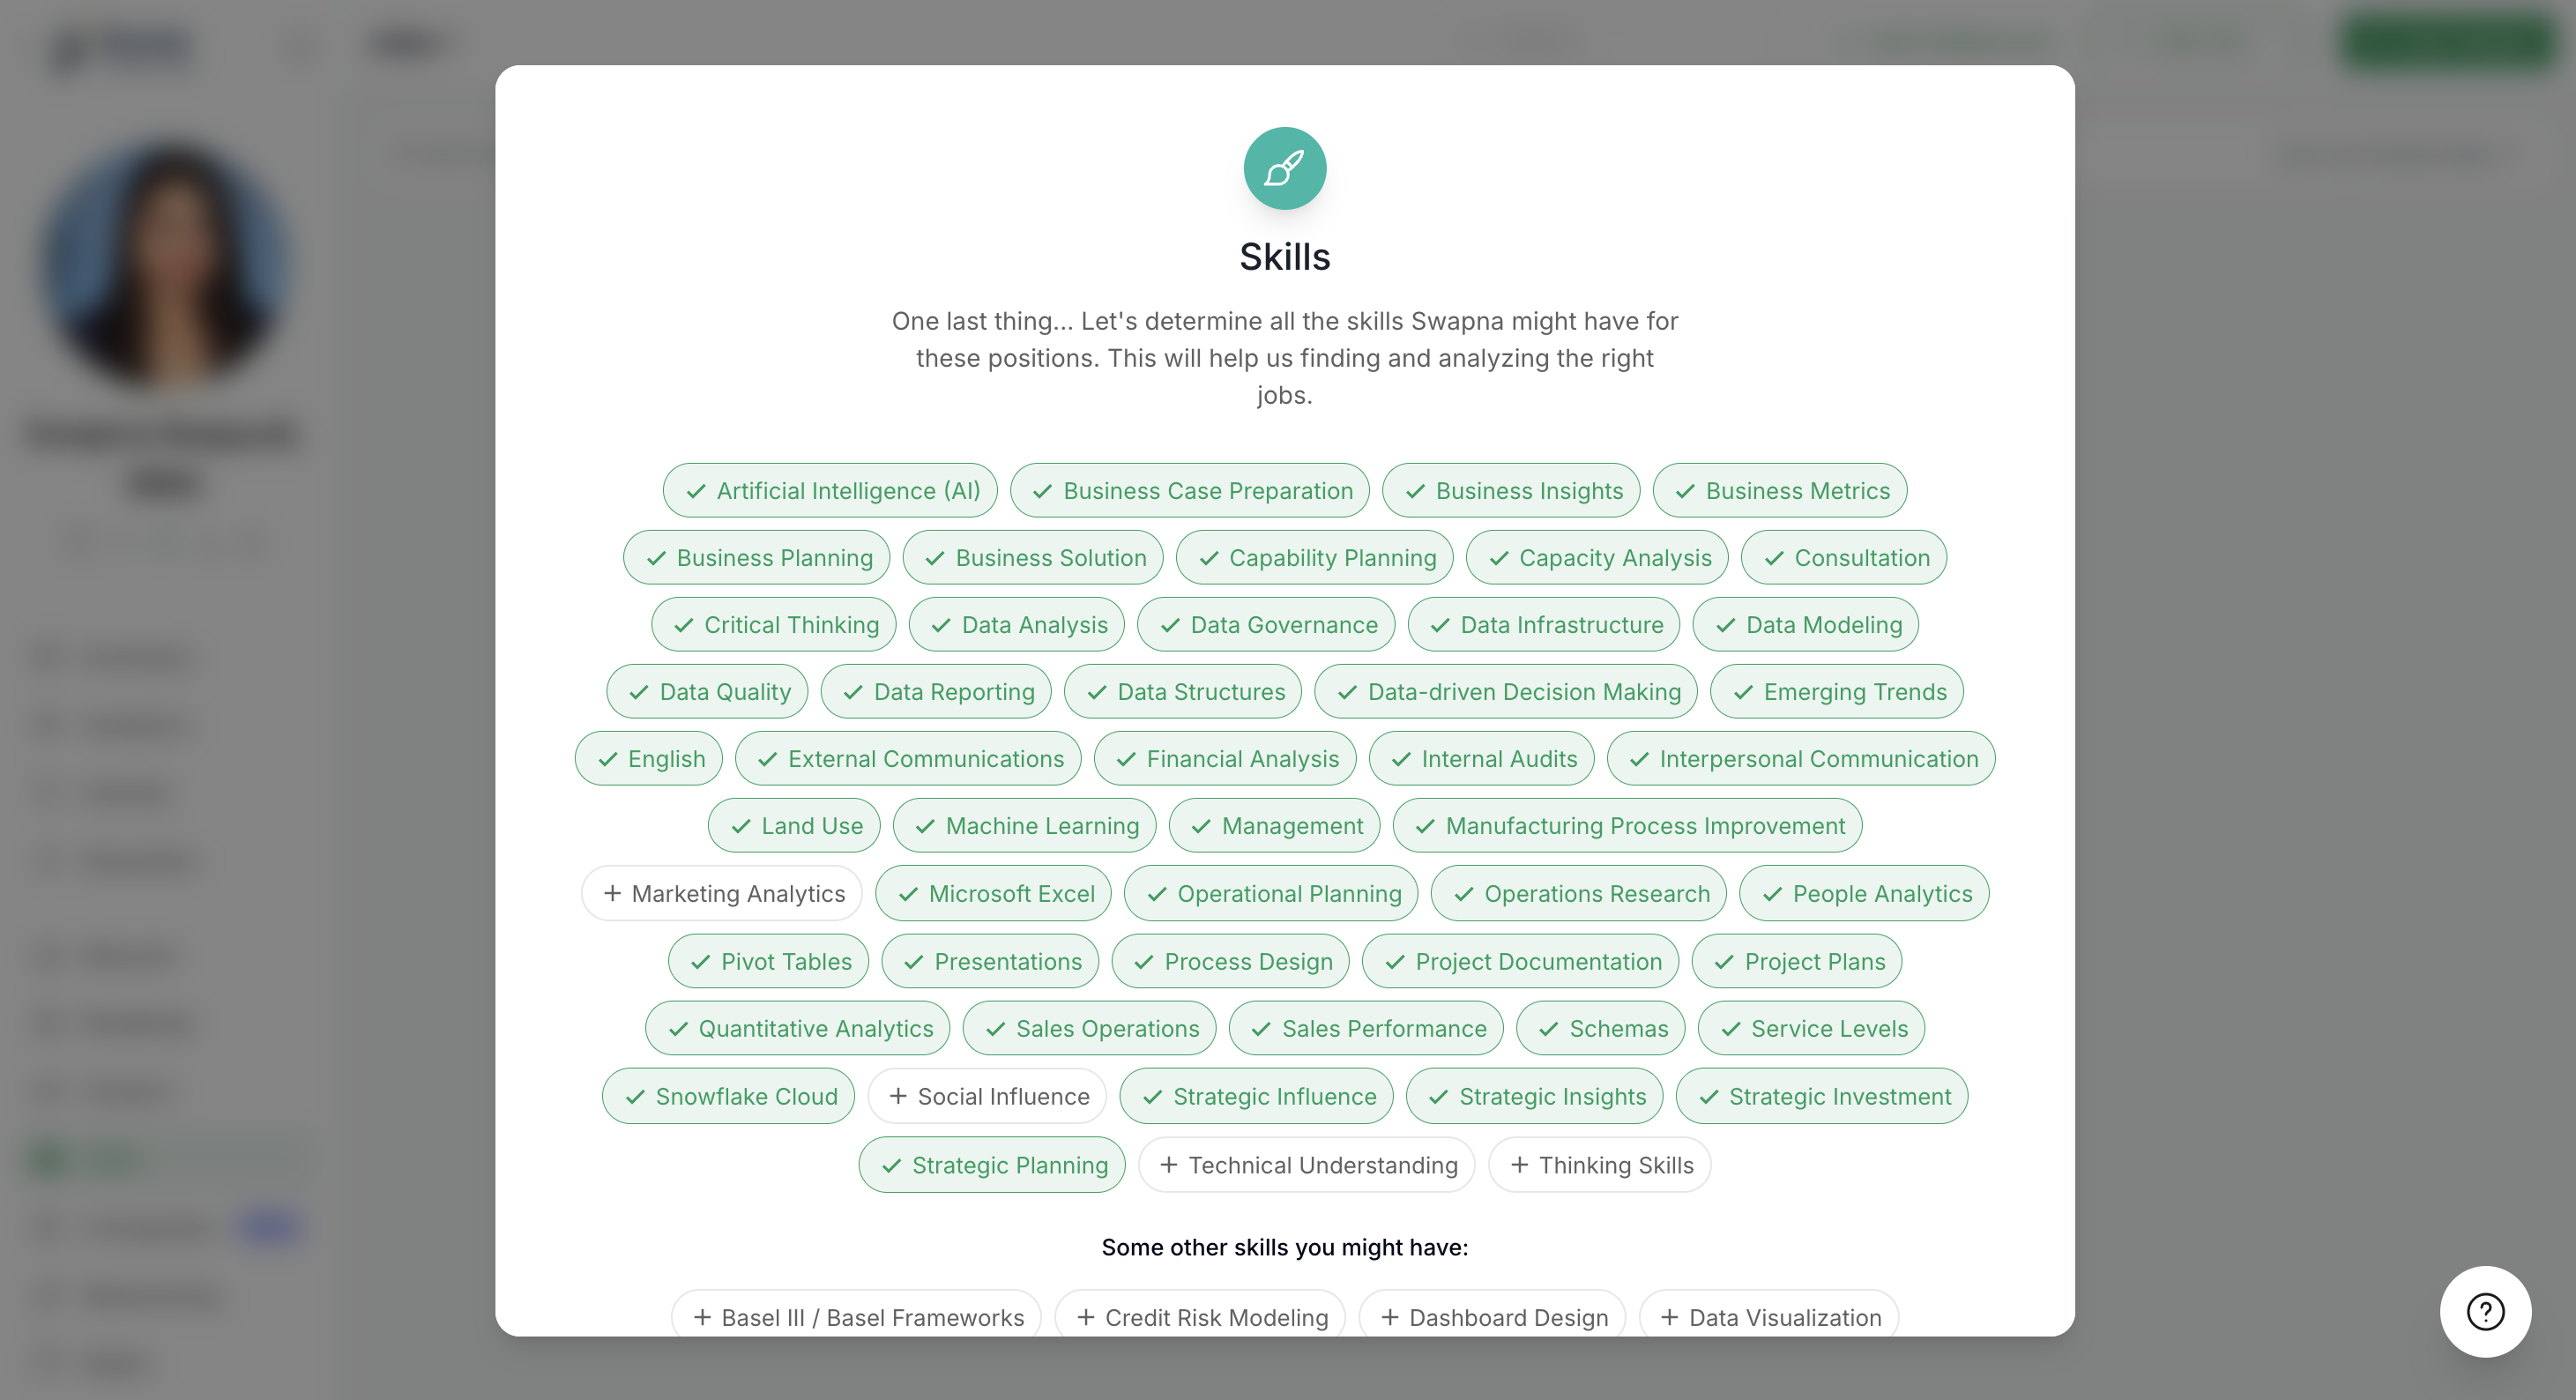
Step 6: Select and Refine Skills
Review the pre-selected skills based on your client's profile. You can:
Uncheck skills that don't apply
Add additional skills from the suggested list
Enter custom skills in the input field
Based on skills the Job Scoring will be adjusted, so make sure you carefully select and add every skill that applies to you.
Once you've finalized the skills, click Show Me Jobs. Shapeshifter will now analyze jobs based on salary, location, job type, industries, and skills you've configured.
First sourcing: Takes approximately 5 minutes to complete
Ongoing refresh: New jobs arrive every 12 to 18 hours
After setup is complete, you can add external jobs from LinkedIn or Indeed, and use dashboard filters to refine your results. Check out our related guides for more details.
Video Walkthrough
For a complete visual demonstration of the setup process, watch the video below: